


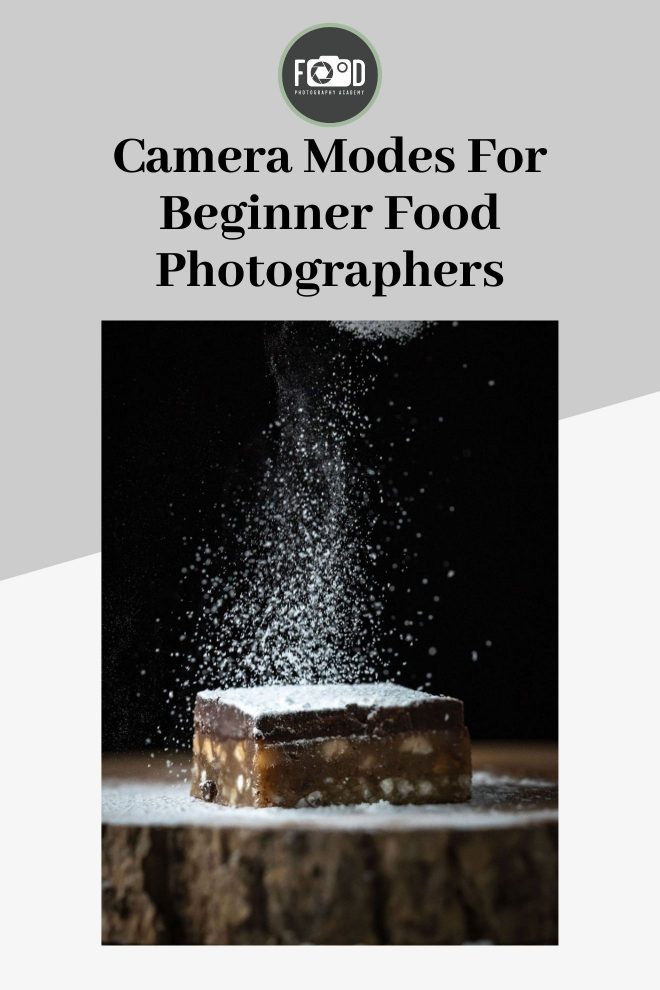
Today’s DSLRs and Mirrorless cameras offer a wide range of exposure modes, allowing photographers much greater control over their photography. But what do all those camera modes actually do, and how should you go about using them as a beginner food photographer?
I’ll be honest that I always recommend beginner photographers to try working in Manual mode right from the start. However, until you’ve fully got to grips with manual shooting, the prospect of having to select all the exposure settings yourself can be pretty daunting.
If you still don’t feel ready for Manual mode, but are nonetheless eager to get stuck in to shooting food photography as soon as possible, this guide explains what all those funny letters on your camera’s dial actually mean, and the kind of subject each of them is most suited to photographing.
Why Shoot in Manual Mode?
Although this is a guide to automatic camera modes, I really do want to stress that if you are serious about food photography – indeed about any kind of photography – you need to start shooting in Manual mode as soon as possible. Only by selecting aperture, shutter speed, and ISO yourself will you have full creative control over your photos.
Pro-photographers will occasionally use automatic camera modes for a specific purpose: e.g. when shooting action or sports photography. But you can bet that any professional photographer who does this will be perfectly capable of shooting in manual mode when appropriate. Instead they opt for an automatic setting purely because it offers an advantage in terms of speed.
Although some types of food photography – for example shots of liquids, splashes and flying foods – call for fast shutter speeds in order to freeze the action, this should not be confused with a fast shooting situation.
By its very nature, food photography is done in a slow and controlled studio-like environment. One in which the camera’s exposure settings can easily be set manually at the photographer’s leisure. This is very different from the often stressful working conditions of a wedding photographer or photojournalist, who may not have time to re-meter for the light between one shot and the next.
This being the case, unless you’re thinking of doing food photography in a war zone, there’s really no excuse for not shooting in Manual mode. While a couple of the settings on your camera’s dial can be used for food photography, only by selecting all three exposure settings (ISO, aperture, and shutter speed) yourself, will you have total control over depth-of-field, sharpness, blur, grain etc. These decisions are the technical backbone of all creative photography.

Free E-Course
Learn Manual Mode in 5 days flat!
Learn Manual Mode in 5 days flat!
Camera Modes Explained
Getting to grips with manual mode can often feel like a steep learning curve. And if you’re excited about doing food photography, you probably just want to get on with it and start shooting some great pictures – even while you’re still trying to figure out exactly how Manual mode works.
For this reason I’ve put together a list of commonly-found exposure modes, explaining what each mode means; whether it’s appropriate for shooting food photography; and how it might best be used for photographing different types of subject.
M – Manual
When working in manual mode, the photographer selects all camera settings: from shutter speed and aperture, to ISO, white balance, flash mode, and file format.
However, because in manual mode you choose the setting and the camera stays there until it’s told to do otherwise, obviously this means that you need to fully understand what are the most appropriate settings for the shot you are trying to achieve.
You will certainly not get any help from the camera. What’s more, you will likely need to adjust those settings as soon as the subject, light, or set-up changes. This is the part that many beginner photographers find intimidating.
It really needn’t be though. And if you’re serious about photography you will in any case have to make the move to manual shooting sooner or later. Still need convincing? For clear and in-depth instruction on how to shoot in manual mode, you might want to take my free, 5-day e-course on this topic.
Free E-Course
Learn Manual Mode in 5 days flat!
Learn Manual Mode in 5 days flat!
Full Auto
As you might expect, in Full Auto mode the camera makes all decisions regarding exposure for you. Not only this, but the camera also sets the white balance, chooses file format, and decides whether or not flash is necessary in order to achieve a correct exposure for the subject.
While this may all seem very convenient, in practice anyone shooting in Full Auto mode has no control over the final outcome of their photography beyond choice of subject and framing. This makes it extremely difficult to predict the results. For this reason Full Auto is not an appropriate camera mode for serious food photography.
P – Program
Program mode differs from Full Auto mode only in that it permits the user to manually control the flash and set white balance and file format themselves. Meanwhile shutter speed, aperture, and ISO are chosen by the camera in order to provide what it considers to be an optimal exposure for the subject.
As with Full Auto, the lack of control offered by Program mode makes it ill-suited to shooting food photography.
A or AV – Aperture Priority
Aperture Priority is a semi-automatic exposure mode that permits you to select the lens aperture yourself, while leaving the camera to calculate an appropriate shutter speed for correct exposure. As aperture affects much more than merely exposure, the advantage of Av mode is that the photographer retains full control of elements such as depth-of-field and image sharpness, but is relieved of the responsibility of choosing the shutter speed.
From a food photographer’s point of view, Aperture Priority is the most useful of all the automatic camera modes. For example, you might want to select Av mode when you know that a particular shot requires a very shallow depth-of-field (or, just as equally, a very deep one), but are less concerned about which shutter speed is used.
F-2.8 
F-5.6 
F-16
Indeed, after Manual mode, Av mode is undoubtedly the best setting to choose for close-up selective focus “food porn” shots, with the background reduced to a smooth blur. However, because you have no control over shutter speed, the Aperture Priority setting is less suited to shooting handheld, or when it is necessary to freeze action – such as in pouring, splashing, or dripping shots. Instead Av mode is most appropriate when photographing a static subject using a tripod, as here there is little risk of either motion blur or camera shake occurring.
S or TV – Shutter Priority
Shutter Priority mode is similar to Av mode, only reversed: i.e. here you choose the shutter speed, and the camera selects whichever aperture it determines will provide a correct exposure.
As creative use of depth-of-field is often one off the most important elements of a good food photograph, you will likely find yourself making less use of Shutter Priority mode than of Av mode. Nonetheless, there are times when shutter speed becomes a more important factor than aperture, and here the Shutter Priority setting will be your best bet.
For example, you should use Shutter Priority mode when shooting flying-food, drips, pours, splashes – or indeed any other kind of action shot – and want to sharply capture the movement without any blur. In this case you would set a shutter speed that’s fast enough to freeze the action, and then just allow the camera to select whatever aperture the lighting conditions will permit. Clearly though, the disadvantage here is that you have little control over depth-of-field.
Related: The difference between auto mode and manual mode
B – Bulb
The B on your camera’s dial – which stands for “bulb” – is not so much a shooting mode, but rather a specialized setting that allows you to keep the shutter open for as long as you want. Fire the shutter when in Bulb mode, and it will remain open until you release it again: the purpose being to permit photographic exposures of several minutes’ – or even hours’ – duration when necessary.
Bulb mode is largely of interest to landscape photographers and those who shoot the night sky, where ultra-long exposure times are often the norm. Conversely the B setting will be of very limited use to most food photographers.
All the same, I don’t want to restrict creativity, and if you can see an interesting way in which you might use long exposure techniques for shooting food, B mode is how you’d go about doing it.
Wrap Up
The use of auto camera modes should always be looked upon as a temporary solution until you fare fully confident working in manual mode. In the meantime, if you do feel more comfortable letting the camera do some of the work for you, hopefully this guide has helped you to make sense of the various controls on your camera’s settings dial.
Ready to take full control of your photography? Ditch automatic camera modes for good by take my free, 5 day e-course below!
Like it? Share the love!