


Welcome back to part 2 of our Food Photography GIF series! In this post we’ll look at all things post-production, so you can get ready to export and use your GIFs.
Once I’ve shot all my images, the first thing I do is check to see how the animation looks. If necessary, I remove any surplus images that seem to be slowing down the sequence
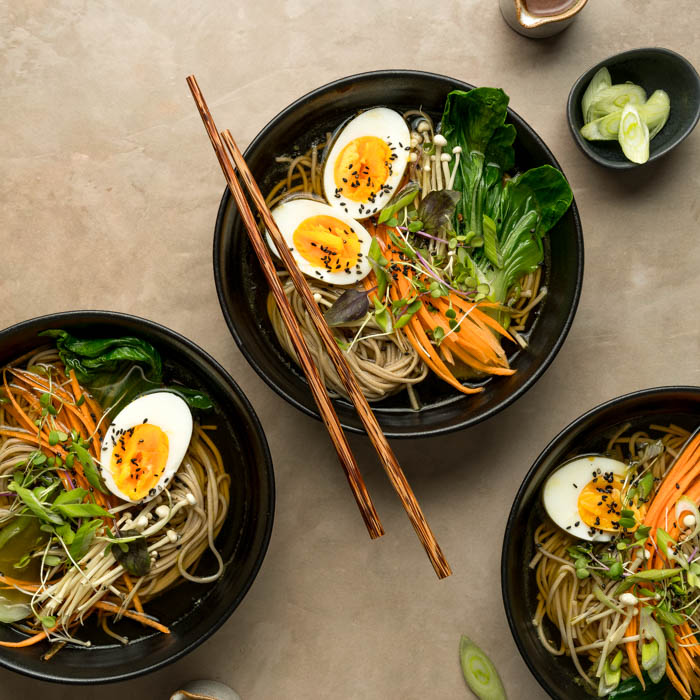
The easiest way to check your sequence is simply to select the entire series of images using Preview on a Mac (or you can use Bridge, Lightroom, or a similar app, and then quickly scroll through all the files using the arrow key. This will provide a pretty good idea of how your food photography GIFs will look once finished.
Once you’ve picked your final frames, import them into Lightroom for some initial grading.
If you prefer, you can watch a video of this whole series below!
Grading
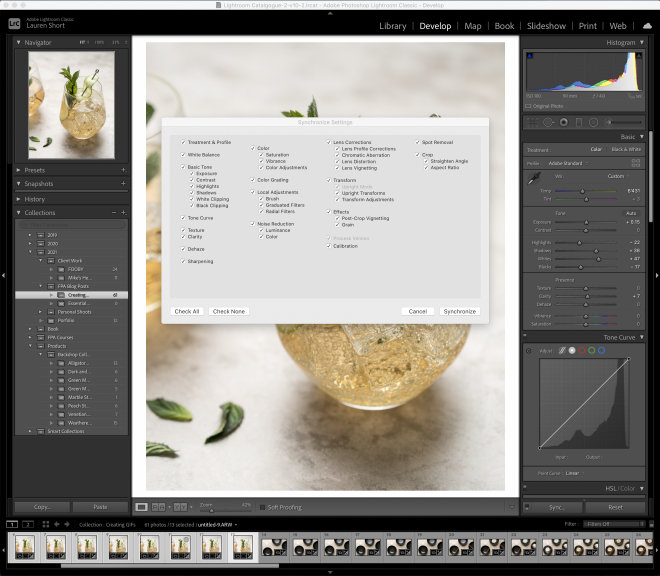
The next step is to bulk process your files in Lightroom, syncing the settings across all images. Or, if using Photoshop, you can create Actions or manually copy and paste the same adjustment layers across all images in the sequence.
Any variation here in terms of color grading or exposure will result in odd glitches in your food photography GIF. So be sure to remain totally consistent in your edits; if you edit one image, you must edit them all in exactly the same way!
You can easily sync your edits in Lightroom by selecting all the images in the timeline you want to sync, then hit the “sync” button on the bottom left. You can then select which adjustments you want to synchronize, and uncheck any you don’t.
Once you are done bulk processing, export all your images into one folder. If you are sharing your GIF on instagram, I would suggest exporting at a size of 1080px x 1350px for Instagram’s portrait size.
I would also recommend using a number extension on the files, to make them easier to order later.
Making the GIF
Now it’s time to combine your sequence of images into a single animated GIF file. Here I go over the process step-by-step using Photoshop (although you can use other software, too).
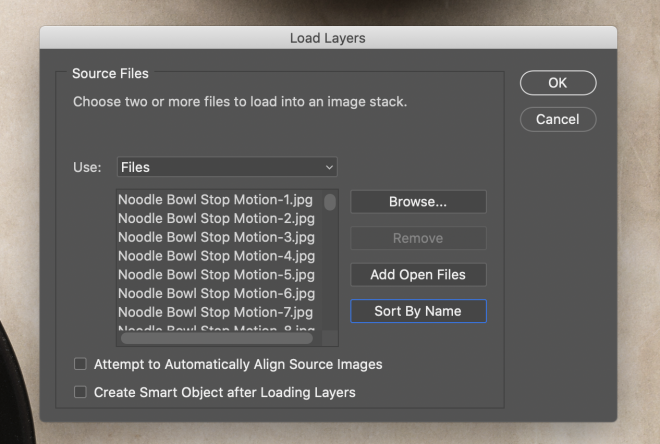
Step 1: Import the images into Photoshop
To do this, select file → Scripts → Load Images into Stack. Browse to the folder you just exported all your images to, and select them all. Hit ok, and all your files will load into the window. Double-check that they are ordered correctly, and if needed, alter that now before importing. All the files will load into a separate layer in Photoshop.
Step 2: Open the timeline
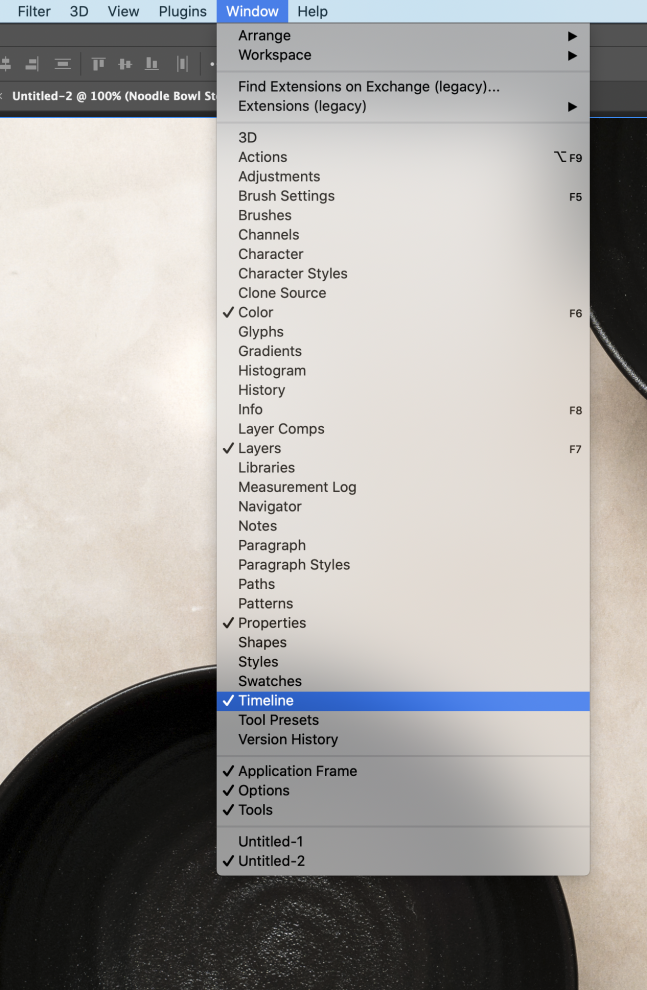
If you don’t already have this setup, go to Window → Timeline. This will open the animation timeline at the bottom of your Photoshop window.
Do you want to learn how to use manual mode confidently in less than a week? Join our free course using the link below

Free E-Course
Learn Manual Mode in 5 days flat!
Learn Manual Mode in 5 days flat!
Step 3: Hit “Create Frame Animation”

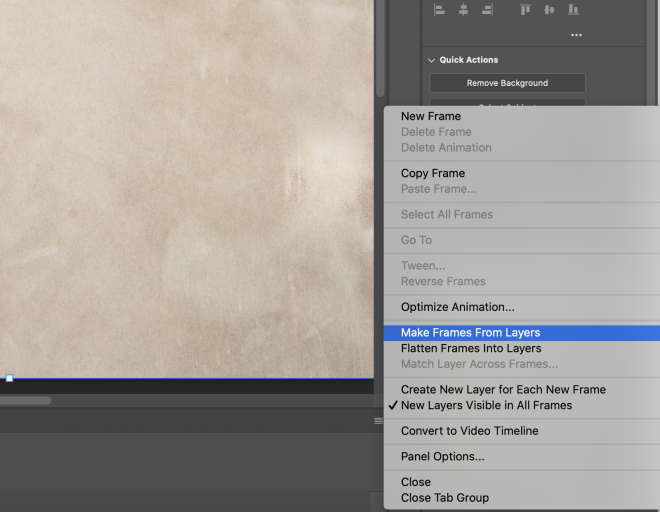
Step 4: Hit the hamburger on the side and select “Make Frames from Layers”
All your photos will then appear in the timeline along the bottom. If you need to reverse them, you can click the hamburger again and choose “reverse frames”.
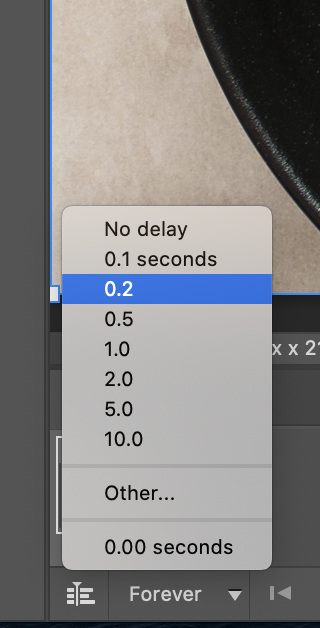
Step 5: Set the duration of each frame.
Select all the frames in the timeline and then hit the dropdown on an image, select how long you want each frame to show for, before moving onto the next frame. You can play around here depending on the overall look you’re going for.
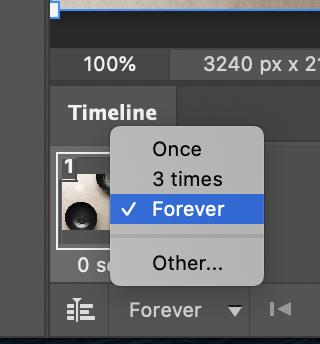
Step 6: Choose the loop mode
Normally for a GIF, I’ll choose “forever”, as that’s kind of the point of these short, quirky animations, but you can of course choose what works best for you.
Now your GIF is created and ready to go, in the last part of our food photography GIFs series, we’ll look at the different options you have to export your GIF.
Don’t forget to Enroll in our Manual Mode Essentials course
Like it? Share the love!