


Editing is one of my favourite parts of the food photography process, it’s where you really get to bring your photos to life, tweak the details and make your vision a reality.
Lightroom is my editing program of choice for all my food photography, and today I want to go in depth into one of my favourite features of the program, that’s really going to help you refine the colours in your food photos.
And that tool? The HSL Panel.
Before we jump into more, I want to share one of my favourite Lightroom hacks… hotkeys. These are keyboard shortcuts that are going to let you work smarter, not harder in Lightroom Classic. Grab your free guide below!
What is the “HSL Panel”?
The HSL panel is a set of three adjustments you can make to individual colours in the photo. Unlike the saturation and vibrance sliders which affect the whole image, the HSL panel allows you to target one colour at a time, allowing you to make much more intentional edits to your photo.
To help show you this in action, I recorded you a video tutorial:
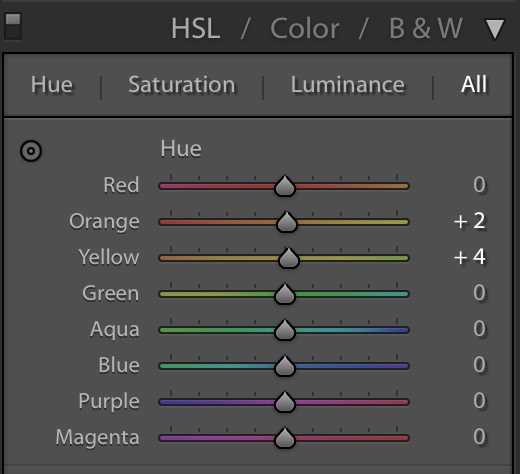
H = Hue
The hue allows you to change the tone of each colour. For example you can make red’s more pink, or more orange in tone depending on which way you slide it. This is what you’ll see under the “hue” panel:
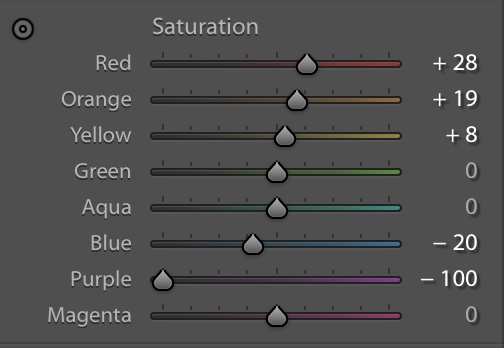
S = Saturation
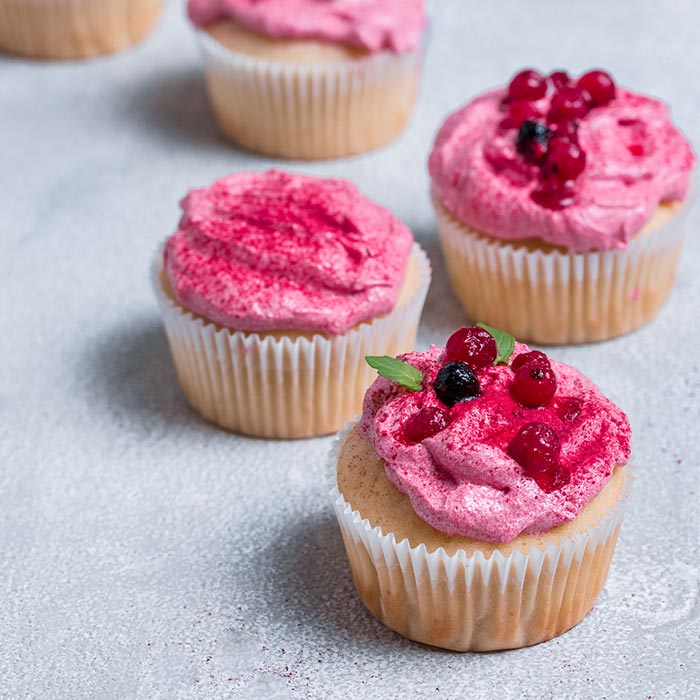
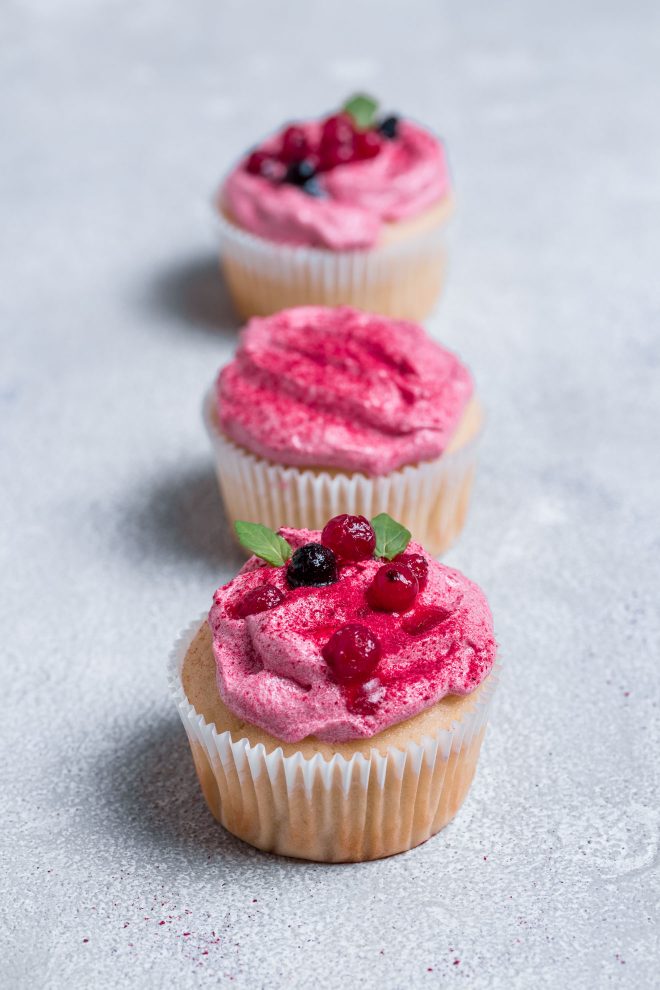
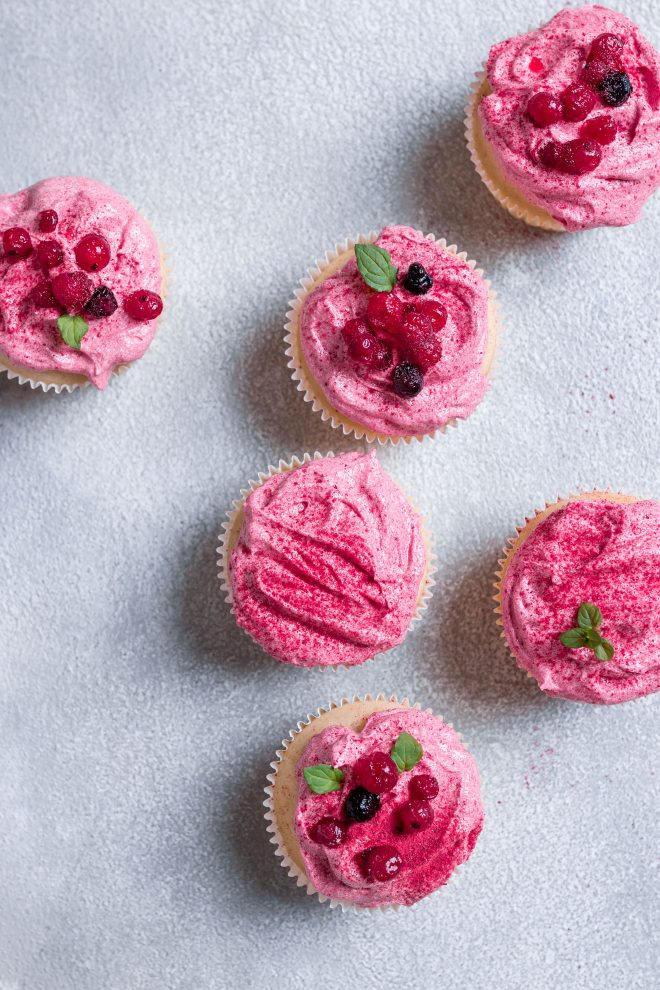
Fairly self explanatory, the saturation panel allows you to increase or decrease the saturation of each colour individually. This is particularly useful in shoots like this, where you really want a certain colour to stand out, portraying a strong flavour. In this shoot, I mostly played around with the saturation of the red’s and green’s, but you’ll also see in the video how I edit the colour of the background to really make the subject stand out.
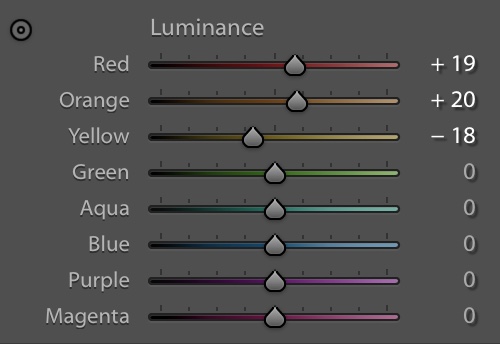
L = Luminance
The luminance panel controls the brightness of each colour. Here you can lift, or darken each colour, to make sure that the exposure of each element of your photo is perfect!
When editing my food photography, I don’t like to make global colour adjustments. All cameras render colours slightly differently, so adjusting each colour individually is a much more professional way to process your images.
You can also bring out the qualities of certain colours, without affecting every other colour in your image. In this case, it allowed me to bring out the vibrance of the pink, in the exact shade I wanted, without affecting the backdrop or the mint leaf garnish.
If you want to take your Lightroom classic food photography workflow to the next level, then you need to be using hotkeys. Hotkeys are keyboard shortcuts that will allow you to cruise around Lightroom like a total pro.
I’ve put together the most essential hotkeys for food photographers into a free guide for you, with the most useful Lightroom shortcuts to help you speed up your workflow. Get your free copy below:
Like it? Share the love!