


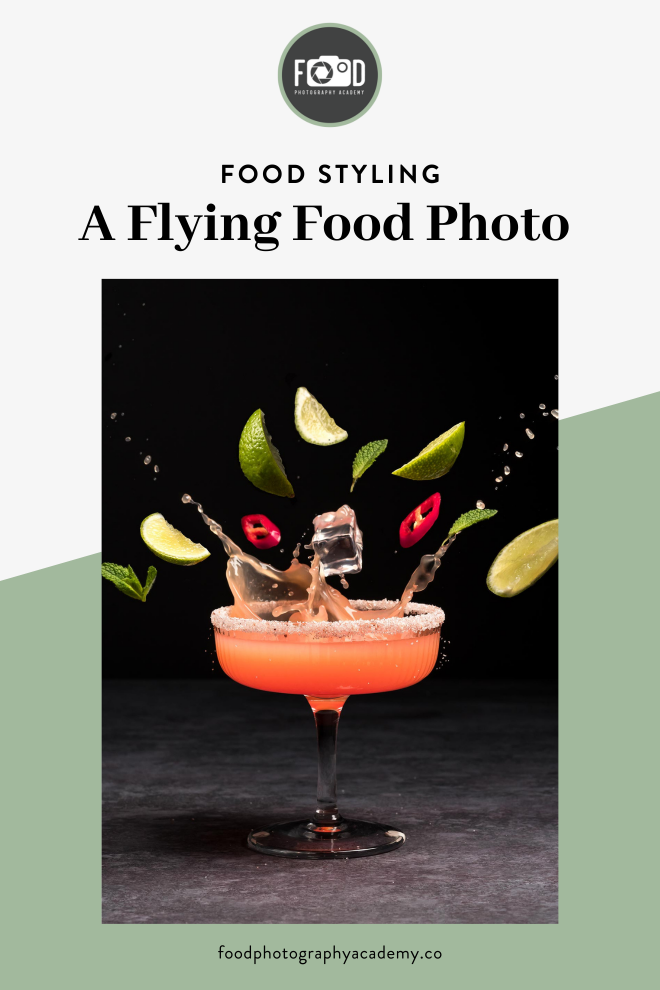
This is a fun little tutorial that I’ve been looking forward to putting together for a while now: how to shoot flying food photography. In this case an exploding cocktail! Although photographically the shot isn’t too complicated, the food styling is a little more demanding, so it’s going to take a lot of careful planning and prep to pull it off. Let’s get down to it!
Flying food photography is undoubtedly one of the most popular genres of food photography right now – especially on Instagram, where they never fail to be anything less than eye-catching.
And with good reason, too; when done right, flying food shots are fun, dynamic, and often visually spectacular.
What’s more, as flying food photos tend to clearly show all the elements that go into a dish, they are also a really fresh and exciting way of illustrating a recipe and all its ingredients in a single shot.
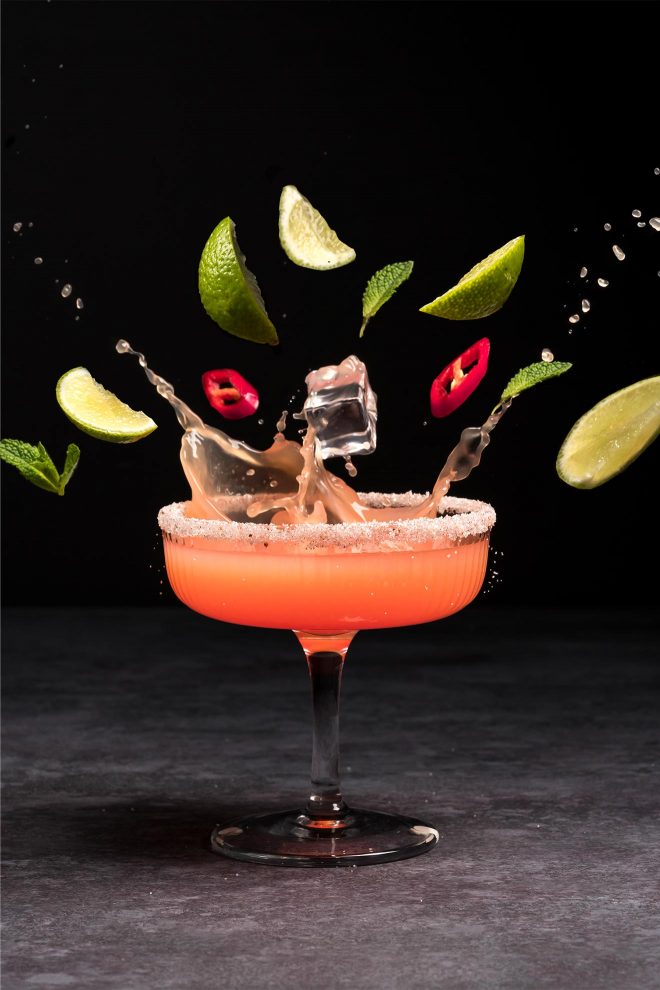
Clearly, some recipes are better suited to flying food photography than others, though. And in this case, I’ve chosen to shoot a grapefruit margarita. In part simply because I love margaritas (who doesn’t?!). But also because I think that the ingredients are going to look great once they’ve been styled, shot, and comped together to appear like they are hurtling through the air.
First we’re going to look at the pre-shoot planning which will go a long way in making your flying food photo a success.
Get Clear on the Concept
The best flying food photography owes a lot of its success to excellent food styling and post-production. But doing a good job of these tasks relies on some really careful planning. Unlike other types of food photography, where you can often improvise quite a lot of the shot as you go along, flying food photography requires clear pre-visualization.
Our first task, then, is simply to make sure that we know what our destination is. In this case, I already have a clear image in mind of the shot I want to produce, including everything from the colours, to the pouring action, and how I want the flying ingredients to look. And, as mentioned above, I’ve chosen this particular recipe precisely because I think that it’s well suited to flying food photography.
Planning
Once we have a clear idea of the desired result, we need to get this down on paper. Flying food photography is never done as a single shot, but instead made up of multiple elements photographed separately and then comped together in Photoshop. And only by sketching out our idea beforehand can we begin to identify the different elements our shot is composed of. From here we can begin putting everything together; making sure that we have all the material we need when we get to the comping and editing stage.
Here’s a preliminary sketch I made for my flying food shot. In order to plan how many composite layers there will be, my job now is to break down all the different elements of the photo. In this case there’s the background; the glass; the liquid splash; and then there are all the flying bits.
Because I want to create a greater feeling of depth, I’ll be including some pieces of flying food up close to the camera and out of focus. And for these I’m probably going to shoot a number of individual pieces as separate shots too. This will give me the flexibility to move them around as individual layers in postproduction for a better composition.
By the time you’ve finished the planning stage you should have a clear idea of how the image is built up in terms of separate layers, and also have considered whether you want to create an impression of depth by placing some objects closer to the camera and others further away.
Food Styling Practicalities
Does flying food photography really involve flying food?
Well, it certainly can. And indeed it often does. But more often than not the food styling techniques behind a flying food photo are a combination of literally throwing things, and some very precise positioning or suspension of objects so that they look like they are flying.
For a large number of small objects, where their exact position isn’t really important, throwing them will likely work out best. And for a liquid there’s simply no other way to do it. But for larger items – e.g. my sugar cubes and grapefruit pieces – you’ll want to control exactly where they are in the frame. And that’s not a decision you can leave to gravity.
There are a number of valid food styling techniques for positioning the floating elements of a flying food photo. You can suspend them from wires, or place them on rods made from Plexiglas, acrylic or another transparent material. The advantage of these two methods is that neither wires nor transparent rods are likely to cause ugly shadows over other areas of the image.
In this case, though, most of my flying food will be positioned closer to the camera than the glass, and the glass will be shot separately anyway, so I’m not too worried about causing shadows. For this reason I’m probably just going to take the lo-fi route of putting the flying pieces on cocktail sticks and manually move them around the shot. Then I’ll mask out my hand and the cocktail sticks later.
If you want a full tutorial on comping together several photos using Photoshop, check out this post.
Prep the Shooting Area
As should be pretty obvious by now, the food styling behind a shot like this is actually a lot more controlled than it looks. Still, with any flying food photography shoot, things are likely to get a little messy. So be sure to use plastic to cover up anything at risk before you start work.
Steps and Tips for Shooting
Lighting
Because flying food photography relies so heavily on post-production – comping multiple images together seamlessly to make one finished shot – you need to be extremely consistent in everything you do. And as we’ve just seen, the food styling can be messy and involves a lot of different elements. So it’s essential that your lighting remains consistent between each of these shots, otherwise, the end result will look fake.
I recommend keeping the lighting for flying food photography quite simple. With the busy subject, movement, and food styling, there’s already enough going on in a flying food photograph that it doesn’t need an elaborate lighting setup. And keeping your lighting simple will help to hide any inconsistencies.
Similarly, I think you’ll find it better to shoot with artificial light rather than daylight. By opting to use flash or artificial continuous lighting, you can be certain that every shot will be illuminated identically; without having to worry about moving shadows and color shifts caused by daylight as it changes throughout the day.
Want to know more about my continuous light setup? Download my free continuous light gear list below!
Composition
Flying food photos are definitely one of those “plan in advance” type images. When you’re already relying on a lot of chances to get the shots, you need to have a pretty good idea of where each of the elements is going to be in your final image… Still, before starting to shoot, you should certainly try out a few different ideas before you lock yourself into a composition. But once you’ve decided on a compositional approach, you’ll need to stick to it. Otherwise, when you start work on the postproduction, you’ll find yourself with a bunch of layers that don’t fit together properly.
Flying food photography should always be shot using a tripod. This will guarantee total consistency of composition, angle, and perspective between each element of the image.
If you wish to learn more about composition, click the link below
Free Resource

Stop guessing and start implementing with my foolproof composition system. Elevate your food photography from good to great with composition techniques.
Camera Settings
The camera settings you need depend on a few things:
- How “frozen” do you want the action to appear?
- Are you shooting with artificial or natural light?
- What depth of field do you want?
Because I’m shooting with flash for this image, my shutter speed doesn’t have too much impact on the image as i’m only using it to cut out the ambient light in the room.
I’ve chosen a low flash power to create a fast exposure time, which allows all the elements in the photo to look sharp, and a mid range aperture for some blurriness outside the depth of field.
Prepare the Canvas
OK, so we’ve planned out all the layers we need, set up the lights, and the camera is ready to go. But before we do anything else, we need to capture a nice clean shot of the background to use as a base layer. There’s going to be a lot of comping and masking to do. And there will be various fairly big objects to remove from certain layers. But by having a clean shot of the background to work with, these tasks should present no problem at all.
In many types of photography you can get away with shooting a clean background layer either at the start or the finish of the shoot. In the case of flying food photography, though, you will absolutely want to do this at the start. Food styling can be a dirty business, and it doesn’t make sense to capture your base layer after you’ve made a mess of it.
Let the Food-Fight Begin
Having so carefully planned every element of the image in advance, the actual shooting stage of a flying food shot should be fairly straightforward. At least photographically speaking. As I said above, it’s largely a question of good food styling now, and methodically capturing each element as a separate layer so that we can position them as we want when we come to edit.
Once I’ve captured my base layer (see above) and got a perfect shot of the hero (in this case the cocktail glass) without any unwanted reflections or shadows, I start working through the list of additional elements, trying out different positions and food styling techniques until I’m certain that I have all the material I need.
Again though, be sure not to change any settings during the shoot. And pay particular attention that any changes you make to the set or food styling between frames don’t cause the lighting to alter in some drastic way (for example, by causing shadows or reflections).
And remember to have patience, and always take more shots than you think you’ll need. You’ll spend lots of time picking your favourites in the post-production phase, so it never hurts to have lots of options.
Flying Food Photography Post-Production
Image Selection
Once the shoot is done, my first task is simply to go through all the images and select which ones will work best in the final composition. It doesn’t hurt to have more material than you need, though, so I’ll probably choose a few back-up elements in case my first choices aren’t working out how I expected, or I feel like the final shot is missing something.
Compositing
Now I add all my shortlisted images to Photoshop as multiple layers in a single file. At the bottom goes the base layer (empty background), followed by the hero shot of the glass. On top of this I stack all the other elements. In some cases – the sugar cubes and pieces of grapefruit for example – I’ll even add a couple of alternative options, so that I can see which ones work best in practice.
From here on in it’s simply a matter of masking out all the layers entirely, and reintroducing just the elements I need from each of them. What I usually do is select the Layer Mask for each layer, fill it entirely with black to make the layer invisible, and then erase the black where needed to reveal the element I want to see in the final composition. Simply continue like this until you’ve built up the whole image.
Click here to watch a full video tutorial on how to do this layering process.
Colour Grading, Burning and Dodging, Retouching
Once the shot is looking exactly how you want in terms of content, all that’s left to do is to create an empty layer where you can retouch out any perfections, and then add some final adjustment layers for colour balance, saturation, and dodging and burning, etc. Done!
And here’s the final result…
Are you going to try creating your own flying food photo?
Like it? Share the love!