


If you’re not tethering in your food photography workflow yet then I’m gonna be honest, you’re missing out big time. Tethering is one of the things that totally changed the game for me in my work, and once I got over all the hesitations I had like “it’s too complicated”, “You need so much equipment”, “only the pro’s tether” and actually tried it, all I could think was why didn’t I do this like 500 years ago.
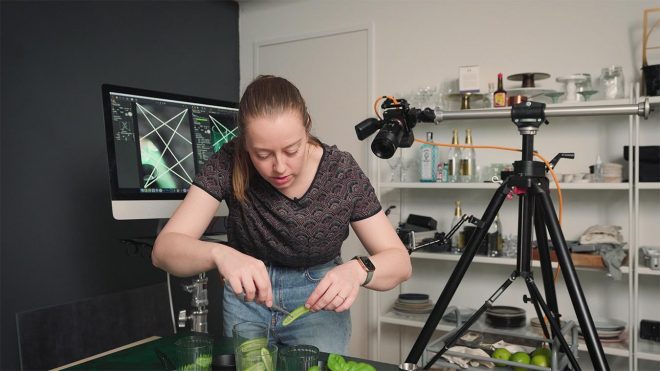
In today’s post, we’re going to talk all about how you can easily get started with tethering, and I’m going to walk through a live shoot in the video below, let’s dive in!
Tethered shooting is where you link your camera up to your computer via a cable, so you get a large preview of what your camera is seeing and the ability to adjust your camera settings directly from your computer or smartphone/tablet.
If you’re thinking “but why would I need that, my camera has a live view LCD screen” then let me tell you… this has been revolutionary for me.
Yes, the screen on my camera is helpful in certain situations, but there are a LOT of situations where that screen is just too small, or I’m shooting a big overhead scene where my camera is attached to a tripod way over my head and constantly trying to check what’s going on is just super inconvenient.
It also simplifies my workflow SO much, completely removing a couple of steps, which allows me to go from the shoot, to editing and processing my images much quicker. When you shoot tethered, those image files go straight onto a harddrive or your computer, rather than the little SD card in your camera, so at the end of the shoot, I’m already ready to go with my files and I don’t need to spend that extra time transfering the images and formatting my card. It’s also just that little bit more security that my files are already in a place where I can back them up straight away, and it’s one less opportunity to lose them in this whole process.
Gear you’ll Need
In order to set up tethered shooting, here’s what you’ll need:
- Your camera
- A tethering cable
- A laptop/computer/iPad
- External harddrive
- Tethering software
The kind of cable you need is going to depend totally on your camera and laptop connection. Tether tools have the best tool out there where you can plug in the exact brand and make of your camera, and your laptop, and it will tell you exactly which cable you need, so you don’t need to worry about not having the right connection, and it’s also going to show you which tethering softwares are compatible with your brand.
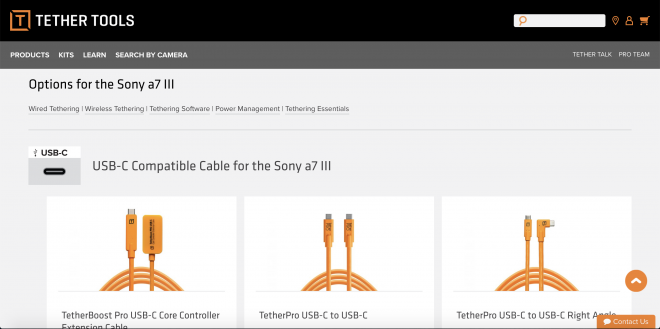
For me with my Sony A7R iii and my Macbook Pro it’s a really simple USB-C to USB-C cable, but your combination could be different, so do hop onto that link to check.
One of the things to make sure when you’re buying a tethering cable is to make sure you get one long enough. It kind of defeats the whole point of tethering if you order a cable that’s too short and it doesn’t reach from your camera to your laptop. I would say you want at least 3m for a tethering cable, but preferably 5m. Especially if you’re shooting overhead shots and you want to have your laptop in a different part of the studio so things don’t get too cluttered, you don’t want any tension on your cable, and ideally lots of slack so there’s no risk of tripping over things and pulling things over.
Software
Ok onto software… most of the mainstream brands have their own dedicated tethering software which is free, like Canon EOS Utility, Sony Imaging Edge, etc, and you can also Tether directly into Lightroom with some cameras, or there’s the most comprehensive software around which is Capture One Pro
You can download a 30 day free trial of Capture One 21 here (affiliate link). I bet once you start using it, you’ll never go back! 😉
Over the years I tried a few, I shot with Canon EOS Utility while I was a Canon shooter, then Sony Imaging edge when I switched over, and now I use Capture One Pro. I do find Capture One is the most comprehensive software in terms of features, and if you shoot professionally and work with clients regularly, I would definitely recommend making the switch over, but if you’re mostly a hobby photographer or you’re just starting out with a small business, one of the brand specific softwares will be absolutely fine.
I don’t personally love shooting tethered directly into Lightroom, and especially as a Sony shooter, it doesn’t connect directly. There are a couple of workarounds but it’s just too much hassle for me when I really like the workflow I have in Capture one.
Let’s touch base about the 4 reasons why you should be tethering in your food photography:
1. Composition
When it comes to composition, I’m 100% for planning before you start, you guys know this from my previous videos all about composition planning. Planning and sketching out your compositions allows you to effectively use compositional techniques to give your food photography direction and focus.
So when you put so much time and effort into planning your photo before you start your shoot, tethered shooting will give you the best chance of achieving the vision in your mind. You’ll be able to slow down and really look at your composition in real-time, evaluating your work as you go and making adjustments earlier, resulting in better out-of-camera images.

During this shoot I used the dynamic symmetry composition guide (full details of how I used this are in the video above). I love being able to upload custom overlays in Capture One as it allows me to compose with precision. You can grab all my composition overlays for Capture One inside Food Photography Academy as a member.
2. Nail your focus every time
One of the biggest disappointments after a food shoot, is to upload your photos to your computer and realise that they are all juuuuust a little bit out of focus. This is one of the things I really struggled with when I was relying on the tiny LCD screen on the back of my camera, and tethering pretty much eliminated this problem.
When you tether, you’re able to zoom in on exactly the point of your photo you choose as your focal point with the huge preview on your screen, and adjust your focus perfectly. I personally use manual focus most of the time, especially because I shoot on a tripod, and I just like the control I get with it.
3. More efficient shoots
When you walk into your shoot with a clear vision for what you want to achieve through planning, and you shoot tethered, you’re already seeing on screen the images you’re coming out with, so there’s no reason to rely on quantity to “get the shot”.
Because of the ability to really slow down and nail your composition, set your focus and make adjustments, you won’t need to take 50 shots and then spend time picking the best one. You can use your sketch to prepare and spend time composing on scene resulting in better, more intentional images.
And that leads me nicely into the next point.
4. Time Saving
The extra two minutes you spend setting up your tethering cable and camera is without a doubt going to save you time during, and after your shoot. As well as having a much larger preview of your image, you also have the ability to preview your histogram right on the screen and even make some immediate adjustments to your RAW files. These adjustments will allow you to see if any further “on set” changes are actually necessary, or whether you have enough detail in the highlights and shadows to work with.
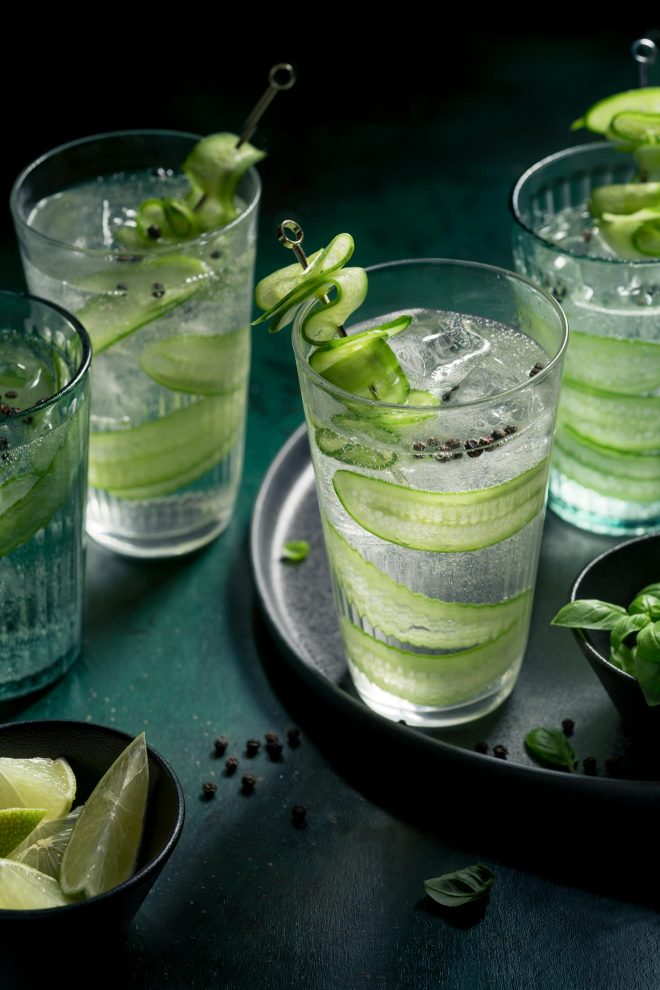
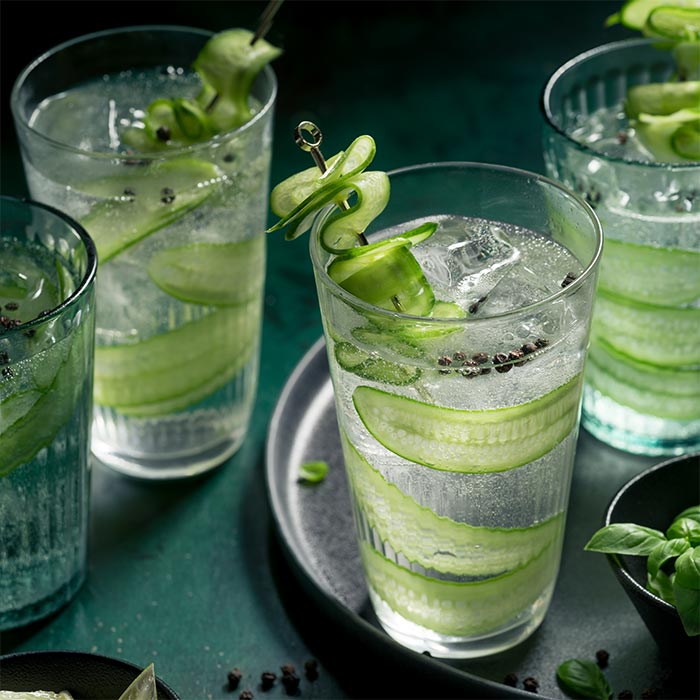
Here’s the final image from this demo shoot! Don’t forget to watch the video above to see my tethering workflow in full!If you want to see more full length tethering walkthroughs, then consider joining us in Food Photography Academy for full access to all my courses, including a full Capture One and Canon EOS Utility Walkthrough!
Welcome to, EOS Utility provides powerful software solutions for Canon cameras, allowing users to easily control and manage camera settings remotely, transfer images seamlessly, and streamline their workflow with advanced tools.
Honestly
I love the idea of tethering but I still use my phone for now so I don’t think it’s very feasible for me.
Or is it?
I love the blog post… I have been shooting tether for years…
I do not find, I shoot LESS… since I got all the technical stuff out of the way, I am free to shoot more, try more variations… add and subtract, all the little stuff that can shape the image and maybe give it a different feel…..
I see your point, about shooting less…Just wish it worked for all of us….
Have a great Day
Totally get what you mean Charlie. By “less” I mostly mean less of the taking the same shot over and over again to get things perfect, because you get the time and space to play around more clearly
Whats the advices program on Mac ?
All the tethering software I know of is compatible on Mac and Windows – normally there’s a version for both to download
I have no fear of shooting tethered, however I don’t have a laptop!!! You forgot to mention that as part of the gear. My desktop is too big and in an entirely different room (also, not very portable)
Is it possible to use an iPad? I don’t think they have any ports(?)
please advise
Michele Hebrank
Good point! Well, I sometimes shoot tethered to my desktop too (i just turn it around on my desk). That can be particularly useful if I have clients present as they can see better what is happening. I don’t believe it’s possible to tether to an iPad at this time.
You can use your iPad or your iPhone to shoot with. It gives you a preview of what you’re shooting, in live mode, and then you can also view the results. It works in a similar way to tethering but you don’t even need the tether in cable. It’s a beautiful thing.
Yes, you CAN ( sort of ), shoot tethered to an iPad. It’s a beautiful thing. Whether you have a Canon or Nikon camera, either one will have an app you can download to use with your iPhone or android phone. I have an iPhone so I’m not completely sure about the android but probably. With this app you can simply look at your iPad, or iPhone, preview your shot, choose your focus, and click. You will get a live you so you can actually move things around and see how they will look instantly on your iPad.Then you can… Read more »
It’s definitely another option! There’s definitely more control you get with the tethering software’s over the apps, but they are great for convenience
Hi Lauren,
I was reading your info how impressive! Do you have the canon EOS 80 D. How is it for shallow depth of field? What lense do you use? I am thinking about purchasing it. Thank you. Susan
Hi Susan, So glad you found it useful! Yes I have a Canon 80D. Depth of field is actually not determined by the camera, but by the lens and it’s capabilities. If you want a shallow depth of field, you’d be wanting to get a lens with a higher focal length (meaning you’d need to position yourself further away from your food), and lower aperture capabilities. I do love the 80D though, it’s a great camera!