


Cocktail photography is fast becoming one of the most popular kinds of food photography out there. It’s a great way to experiment with colour, food styling and fun props. But drink photography also comes with its challenges.
In this post, I’ve got 7 tips to help you improve your drink photography, so you can approach your shoots with confidence. You can also download my free food styling tips for food photographers to complement these tips!
This post may contain affiliate links, I will only recommend products I know and love.
If you’d prefer to watch the video, then hit play below for my best beverage photography tips!
1. Use complementary colours to make your photos pop
Drinks themselves can be fairly one-dimensional beings to shoot, so implementing some colour theory can go a long way in helping your drink photography pop.
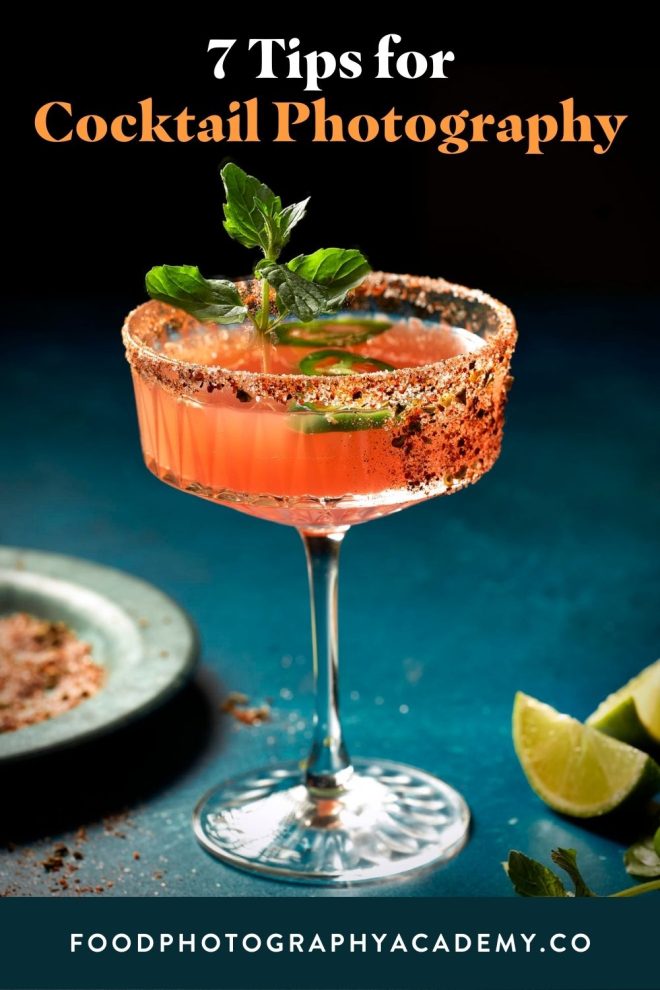
Using complementary colours (colours that fall opposite each other on the colour wheel) is a great way to add interest and vibrance to your cocktail photos. In this image, I chose a bold, blue backdrop to contrast the orange tone of the drink, this helps the subject stand out, and also creates interest in the frame.
Want more free food styling tips? Download my top 10 food styling tips for food photographers!
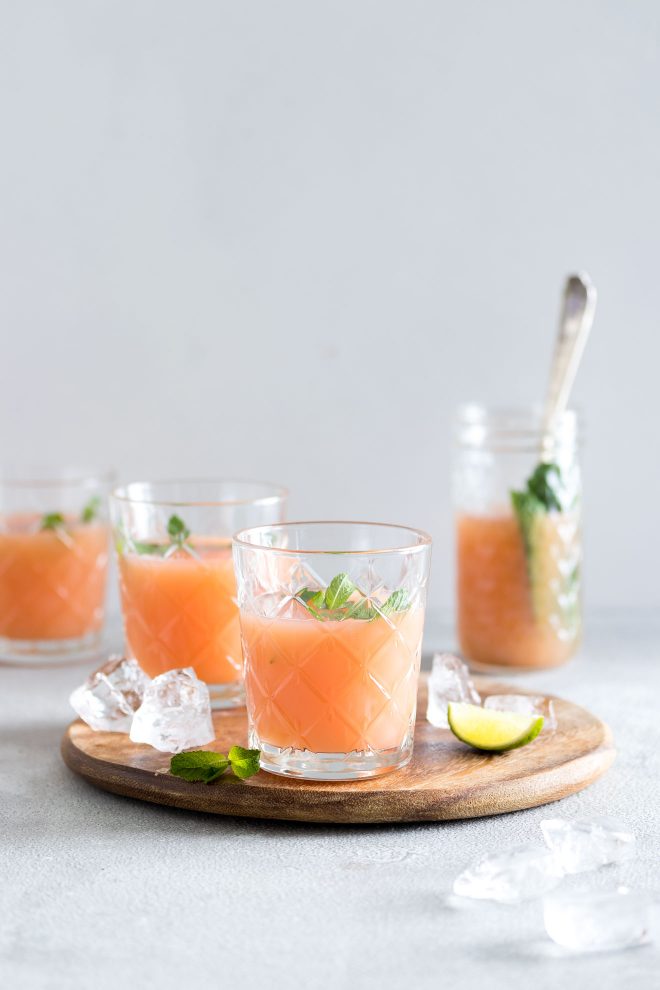
2. Use the rule of odds to compose your drinks photos
The rule of odds states that when you’re including a group of subjects in your photo, an odd number, rather than an even number will produce a more interesting, visually pleasing composition.
Cocktail photography is the perfect place to put this into practice. Try adding 3 or 5 main glasses into your composition, working with diagonals and triangles in your composition.
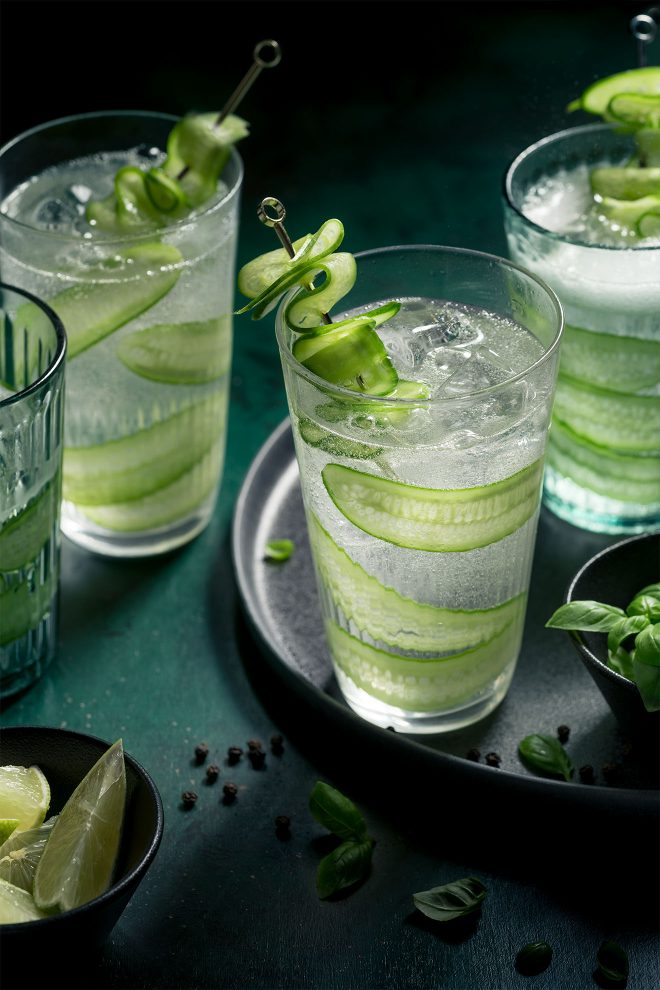
By having an odd number of subjects in your photo, you can more easily highlight one as the main subject, by placing it in a powerful place in your composition. In this image, I have 3 main drinks, clearly leading the eye to the one at the front as the main subject.
3. Backlight your Beverage Photos
When shooting drinks, lighting is one of the most fun, but also the most tricky areas to perfect. We all want to avoid those unwanted reflections and bright spots, where the light is just bouncing right off the side of the glass and back into the lens.
A good way to counteract this is to backlight your drinks photos. In this example, the light source is directly behind and slightly above the drinks, and I’ve used a reflector to gently illuminate the front of the glasses.
Even when side lighting drinks, try and position your light slightly towards the back to avoid reflections.
Want more food styling tips? I’ve got you covered. Click below to download my free food styling guide for food photographers!
4. Use hard light for your cocktail photography
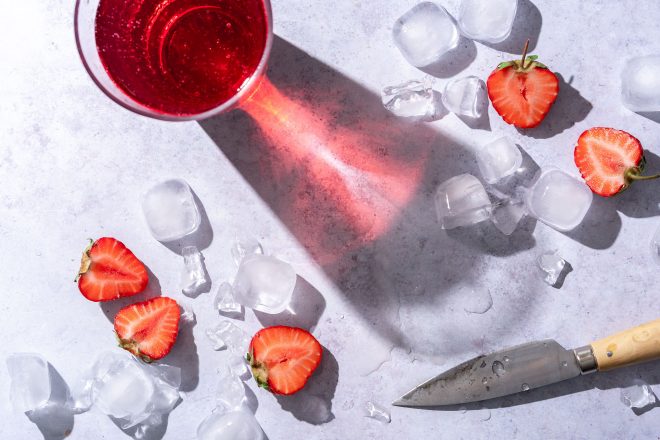
When talking about food photography, most of the time we are bombarded with the message that “soft light is better”! We’re told to create soft shadows, diffuse the light to create gentle curves and beautifully illuminated scenes.
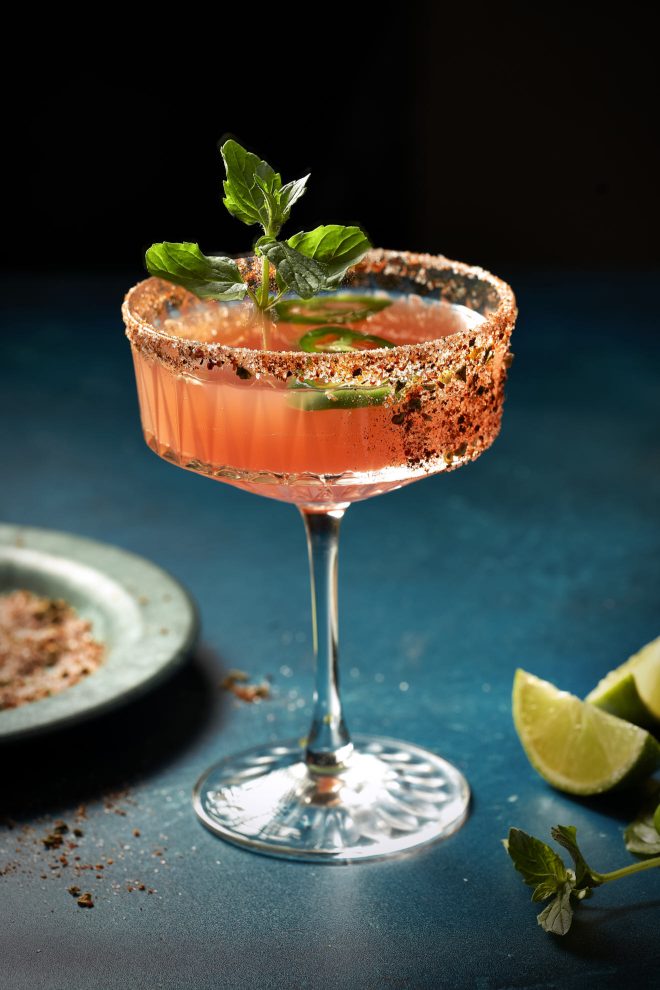
But photography isn’t the place for boundaries, rules and techniques that can’t be broken. And sometimes, hard light can be STUNNING! I have found cocktail photography the perfect place to take some photos using unmodified light, to capture the textures on the glasses, creating almost a prism effect.
For this photo, I positioned my light quite high above my subjects and angled it diagonally. The further away your light is from your glasses, the longer your shadows will be, so you can play around with moving your light to get the effect you want.
5. Use a water and glycerin mix to create a frosted glass effect
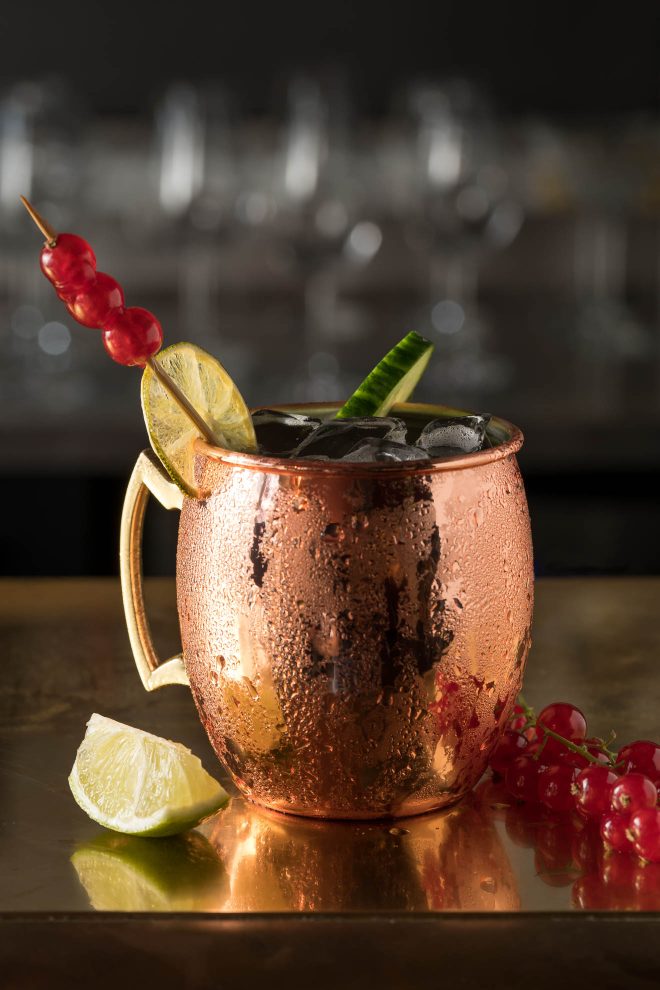
Need that frosted, ice-cold, crisp “just out of the fridge” looks for your drink photo? I hear ya’!
But let’s be real, a food photography set is not the ideal place to keep things cold and crisp, and maintaining the perfect condensation on the side of a glass is pretty much impossible, especially when you have artificial lights in the mix!
Well, there’s a simple fix for this, and it comes in the form of a mix of water and glycerin. Simply fill a mister spray bottle with 50% water and 50% glycerin, mixing well, then spray on your room temperature glass – hurrah! You’ll be left with a perfect condensation effect that won’t fade or drip away, no matter how long your glass is out for.
Want more food styling tips? Grab your free guide for food photographers below 👇
6. Use fake ice cubes (for staging)
Ice is an essential element for a lot of cocktail photography, but a very perishable ingredient. In a hot styling room, you probably have a few minutes with an ice cube before it disappears before your eyes, denying you the opportunity to get that perfect, ice-filled shot.
A prop that comes in super handy is a bag of fake ice cubes. They are very realistic looking and are a great tool for pre-lighting your drink photography shoots! This allows you to get everything ready on set, so you can bring in the real ice just at the moment you’re ready to hit the shutter.
For a budget-friendly option, check out these acrylic ice cubes
For a more upmarket, professional look, Trengrove Ice is the best you can get
7. Get creative with your Garnishes
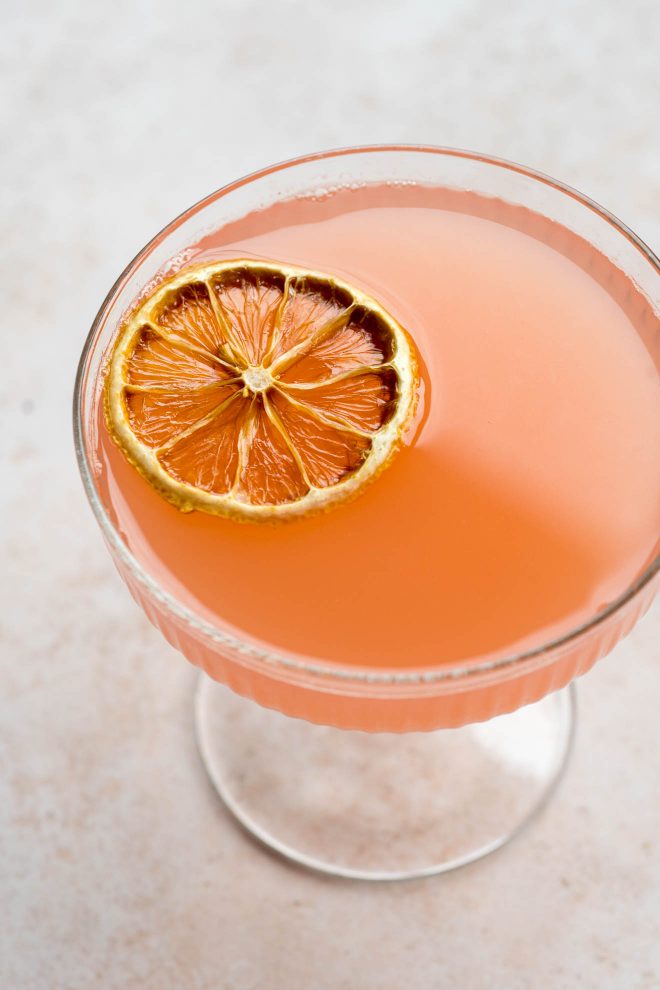
Garnishes are a fun way to add life and colour to your drink photography. As I mentioned above, using complementary colours in your garnishes is a powerful way to add a pop of colour and interest to your drinks. In this grapefruit cocktail, I dehydrated some lemon slices in the oven to create an interesting texture.
But aside from colour, things like adding a salt or sugar rim to your glasses will add another layer of interest and detail to your composition. Interesting beverage photos are born out of thoughtful, interesting composition.
Don’t forget to download my free “10 food styling tips” PDF, to help take your food styling to the next level!
Drink photography is a skill in itself that many food photographers specialise in, so don’t be hard on yourself if it takes you time to figure out a style you like. Just keep practicing!
Thanks a bunch for sharing this. Your website URL is duly noted; I’ll be sure to visit soon!
Nice post
“Thank you for capturing the beauty and artistry of cocktail making through your photography. Your images have a way of transporting me to a world of sophistication and elegance, and I appreciate the effort and skill that goes into each shot. Your work truly highlights the creativity and craftsmanship that make cocktails such a beloved and iconic part of our culture. Keep up the great work!”
[…] sebuah minuman haruslah memiliki keterampilan fotografi yang memadai. Es dapat mencair sewaktu-waktu, dan sulit untuk menghilangkan pantulan cahaya atau […]
[…] عکاسی از نوشیدنی یکی از سرگرم کننده ترین و با ارزش ترین انواع عکاسی از غذا است. این فرصتی است برای بازی با وسایل جالب، لذت بردن از رنگ ها و کشف تکنیک های ترکیب بندی. […]
There were very good and informative posts about drink photography. Thanks for sharing such beautiful facts with us
This is a very nice article. I have very glad to read your article. You are a really brilliant person. I have read your full article and I have got much important news that was very helpful to me. Thanks a lot for sharing a nice article. For portrait photography, e-commerce business, Photoshop needs product photo editing making images pop up. We provide all kinds of high-quality photo editing services at a competitive price from Clipping path genius.That helps to make your e-commerce business pop-up. If you want to know about the best high-quality product photo editing service can you… Read more »
LOVE your work! I was wondering if you would reveal your secret to getting the color into the shadows like you did on the #4 hard light photo? Is it just about placing the light? I have to be honest – I’ve fallen in love with that photo, found it on Google. It’s just such a striking, graphic image, absolutely beautiful…
Love these tips Lauren. Haven’t tried drinks photography yet, but after this it’ll be next on my list. And who knew fake ice-cube even existed!!
So glad to hear that! Thanks for the comment Sarah
very nice article….thank you…