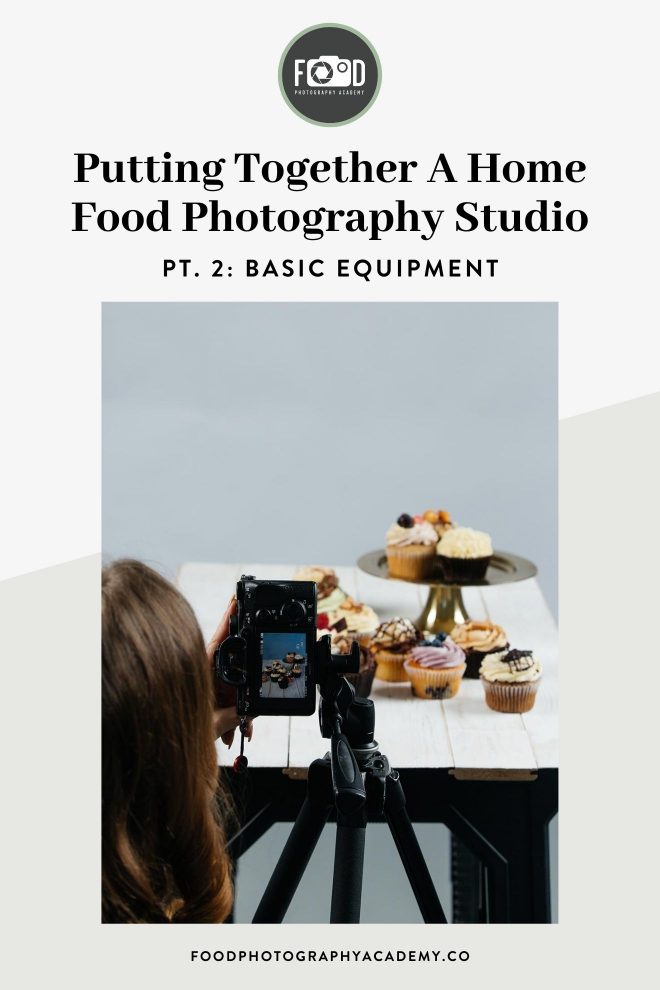
Planning on putting together a home food photography studio? Unsure what equipment you’ll need to budget for? In this post I look at the basic essentials of any photography studio.

Let’s be totally clear: you can shoot food photography with your phone, on a kitchen countertop, with little more than a sheet of coloured paper as a background, natural light from the window, and a piece of white card as a reflector.
But if you’re serious about shooting food photography, and plan on taking it up even semi-professionally, you need to go a step further than that. You need to deliver great work on every single shoot you do. And while gear isn’t everything, struggling to work in an inconvenient space with substandard equipment will at best be a challenge; at worst seriously compromise the quality of your photography.
For this reason, anyone who takes their career as a photographer seriously will sooner or later start to think about putting together a dedicated and well-equipped food photography studio of their own to work in.
But where do you begin?
I already covered the most important points to consider when choosing a space for a photography studio in part 1 of this series. And I’ve also previously done a general piece covering my food photography gear. So in the 2nd and 3rd installments I’m going to specifically look at all the essential photography equipment that you’ll need to fill your studio space with. Starting here with the very basics: camera, computer, tripod, and accessories.
Disclaimer: This post contains affiliate links which means I’ll make a commission if you make a purchase through one of the links. This does not affect the price you pay…. and does not influence my decision to recommend the product.
Camera
Yes, it goes without saying that you’ll be needing one of these… But if you’re reading this post I’m going to assume that you already have a camera of some description, so I’m not going to go into this subject in too much detail here.
For the record though, these days I mostly use a full-frame Sony A7 III mirrorless camera. If you’re interested in learning more about why I choose to work with this particular camera, you can read more here.
But the fact of the matter is that there are literally hundreds, if not thousands, of other camera makes and models that will do the job perfectly well too. There really is no such this as the “perfect camera”, just the best camera for you.
Nonetheless, if you’re just starting out in food photography and wondering what essential items you’ll need to budget for in order to be able to start shooting, a camera is undoubtedly one of them.
Indeed, while you can get away with skimping on pretty much every single item of studio equipment – and even come up with your own cheap DIY fixes for a lot of items – when it comes to a camera and lens for food photography, you should purchase the very best that you can afford.
And if it comes down to a choice between a camera and a lens, ALWAYS put your money towards a lens. In this post I talk about why it’s really the lens that has the biggest impact on your photo, not your camera.
As with anything photography-related though, “best” is a highly subjective term. In practice what the phrase “best camera” really means is “the one that most helps you to achieve the results you want.”
When choosing a camera for food photography, you shouldn’t merely go with whatever model some blogger says is “best,” but instead carefully consider your needs as a photographer and then research the camera (or cameras) within your budget that will most efficiently permit you to achieve this.
Tripod and Accessories
Tripod
Some photographers prefer to shoot handheld most of the time. And even I will do this occasionally. But whatever your personal preference, there are some shooting situations where you will have no choice but to lock the camera down on three legs.
This is particularly the case if there’s likely to be any degree of image-comping going on at the post-production stage.
This means that if you are a serious food photographer you will absolutely need to own a tripod. Even if it only ever gets pulled out every once in a while.
Not convinced? This article explains why you need to have a tripod for food photography.
There are so many tripods on the market, and at vastly different price points, so which kind of tripod should you buy?
There are three purchases that a photographer should never, ever cut corners on. We’ve already mentioned the importance of purchasing the best camera you can afford; a tripod is the second on this list (the third we’ll look at in part 3 of this series).
Cheap tripods are a total and utter waste of money. At best they will be inconvenient to use; either constantly slipping out of position, or becoming impossible to adjust by small increments. At worst, they will literally fall to pieces in your hands after perhaps as little as just a few weeks’ of use (this has happened to me… learn from my mistake!).
And if that occurs – and your camera happens to be on the tripod at the time – any savings you might have made by going for a cheaper brand will pale into insignificance when compared with the cost of replacing a broken camera and lens.
Expect to spend at least $300 (and perhaps considerably more) on a decent tripod.
Overhead Arm
For overhead shots I use an extension arm mounted onto my tripod that allows me to shoot flatlays without worrying about the tripod legs creeping into frame.
True, if you are really on a tight budget, you can probably get by without owning an overhead arm. Nonetheless, it’s undoubtedly a very convenient item to have in your studio, and will really help to get those overhead shots perfectly square-on with a minimum of fuss.
Hotshoe Spirit Level
While we’re on the subject of squaring up your shots, a spirit level that mounts on top of your camera can be a really handy item to have around. Wonky parallel lines will ruin a shot, and although the problem can be fixed in post production, doing so will have a detrimental effect on the quality of your image file, so obviously this solution should be avoided wherever possible.
Computer and Accessories
Laptop
Another “no-brainer.” A powerful laptop computer is essential to any food photography studio. While either a Mac or PC will do the job perfectly well, Mac has traditionally been the platform of choice for the professional photography industry. This means that if you ever need IT assistance from fellow photographers, you’re more likely to find people who are knowledgable about Macs than PCs.
Again, it would be beyond the scope of this article to go deep into considering which laptops currently offer the best spec for photographers. But in any case, if you already own a reasonably modern laptop computer, it will likely be good enough.
External Hard Drives
Image files from modern full-frame cameras can be pretty big. And if you’re anything like me, you probably shoot quite a lot of frames of each setup; trying out different angles and new ideas. All that data can quickly add up.
In any case, it’s never recommended that you store files directly on your laptop’s harddrive. This means that you’ll need a fast and reliable external drive on which to save all your files. Scratch that, you’ll need two: one as a working harddrive for directly downloading and storing your files, and a second harddrive as a backup for all your files in case anything ever goes wrong.
Tethering Cable
Yes, you can absolutely get away with just shooting onto SD cards and regularly downloading the files to harddisk, but shooting tethered is just so much more convenient. This is especially the case if you’re ever likely to shoot with the client present on set: set up a viewing monitor and the client can see exactly what you shoot as you shoot it. Not only see what you shoot, but give their approval on it.
The advantage of having the client preview files as you shoot is that you avoid any risk of a difficult client turning round later and saying that they’re not happy with the images you’ve delivered. They saw them, and they approved them; now they can pay for them.
For more insights into the advantages of shooting with the camera directly wired up to your computer, take a look at my post explaining why you should shoot food photography tethered.
Final Thoughts
That wraps up the second part in this series on setting up a home photograph studio. In this post I’ve looked at the most important items that will be found in any photography studio (whether it’s a home food photography studio or otherwise). Be sure to check out the third installment, where I’ll be recommending all the optional extras that will make this studio your studio.

these posts are very informative thanks for sharing such information about the <b><a href=”https://sbaysolutions.com”>photography studio in USA,NJ</a></b>,keep updating more posts about it.