


Good pouring photography technique is central to any pro food photographer’s skillset. Although pouring shots present a number of specific challenges, these are easily overcome by gaining a simple understanding of the technical aspects involved and carefully planning your shoot beforehand.
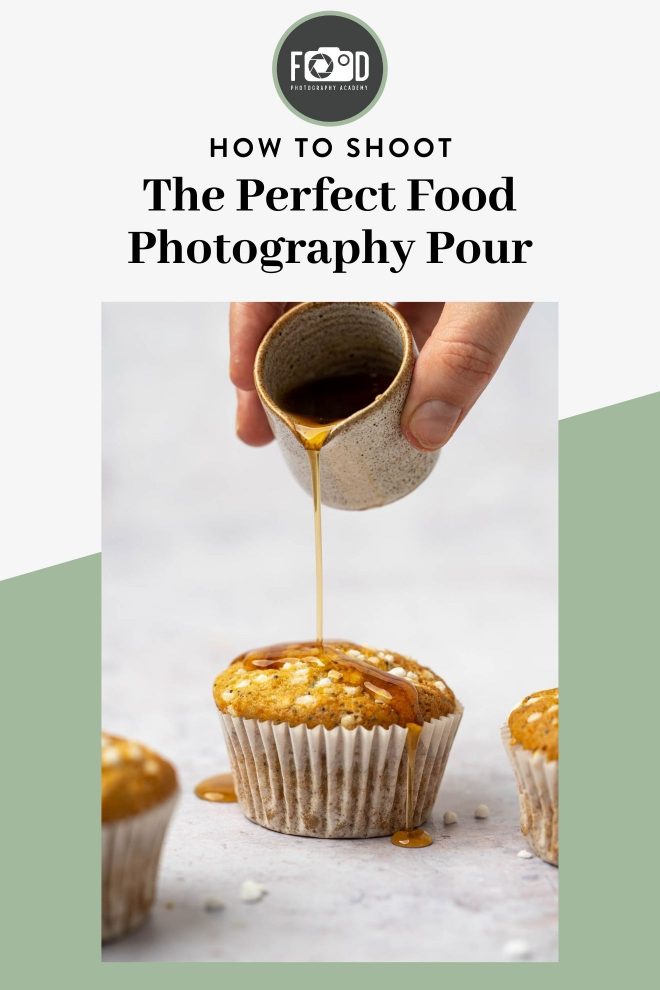
In this short guide to mastering food pouring photography, I explain how: starting with camera settings and then going on to look at other important elements such as the lighting and backdrop.
Camera Settings for Food Pouring Photography
Shutter Speed
When it comes to choosing the correct shutter speed for a pouring photo, you essentially have two options open to you; very fast, or very slow. Fast being anything above around 1/250 of a second; slow being something under about 1/10.
A shutter speed anywhere between these two extremes will likely produce fairly unsatisfactory results (not quite sharp, but not blurred enough to be an effect).
Fast or slow, which should you choose? Well, that will depend on the final effect you’re going for.
Fast
Using a fast shutter speed will freeze the pouring movement, producing a crisp and blur-free cascade of liquid. This is particularly appropriate when you want to catch individual drops of liquid in mid-air, or to capture the almost sculptural form of tumbling liquid in motion – such as when pouring wine into a glass.
Slow
Using a slower shutter speed will create motion-blur, turning the spout of liquid into a soft and luxurious stream of movement. The slower the shutter speed you use, the more fluid and blurred the pouring action will become.
Before beginning work on the real shot, I recommend trying out a few tests, capturing pouring liquid at different shutter speeds to make sure that you’re getting the effect you want. Bear in mind that, if working at a low shutter speed, aside from blurring the liquid itself, any movement of the pouring jug or the hand holding it will also result in blur.
Continuous Shooting Mode
Unless you have multiple versions of your hero dish to hand, pouring liquid over it is likely to be a one-time only activity. And regardless of how quick your reflexes may be, you will almost certainly struggle to capture the perfect pouring shot just using single shutter mode. Continuous shooting mode exists for a number of very good reasons; producing food pouring photographs is one of them.
When that liquid begins to pour, you’ll want to hear the rapid-fire purr of your camera’s shutter capturing every fraction of a second of its trajectory. This way, once you get to the editing stage, you’ll have a wide choice of images to choose from; covering everything from the first droplet leaving the spout of the jug, to the last slosh of liquid as it settles into the dish.
Now you can either choose a single shot that works right off, or comp together the best elements from a number of different images to produce the perfect pouring shot.
Learn more about compositing images together in Photoshop in this article.
Focus
One of the trickiest parts of shooting pouring photography is getting the focus right. And as we’ve just noted, if you stuff things up the first time round, this is not the kind of shot that you can easily give a second go.
Leave nothing to chance; get your focus locked down before you begin to pour. If necessary, do a dry-run using a stand-in dish (Food Photography Tricks: Pre-Lighting a “Body-Double”). At the very least, place the pouring jug in the same position that it will be in for the real shot, and set your focus here manually before starting to shoot.
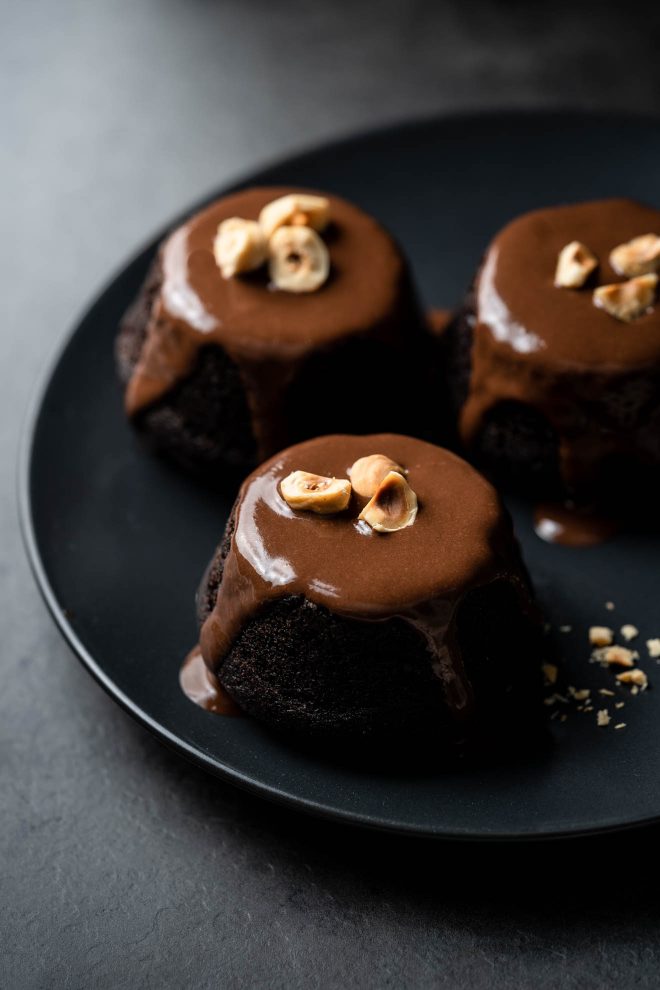
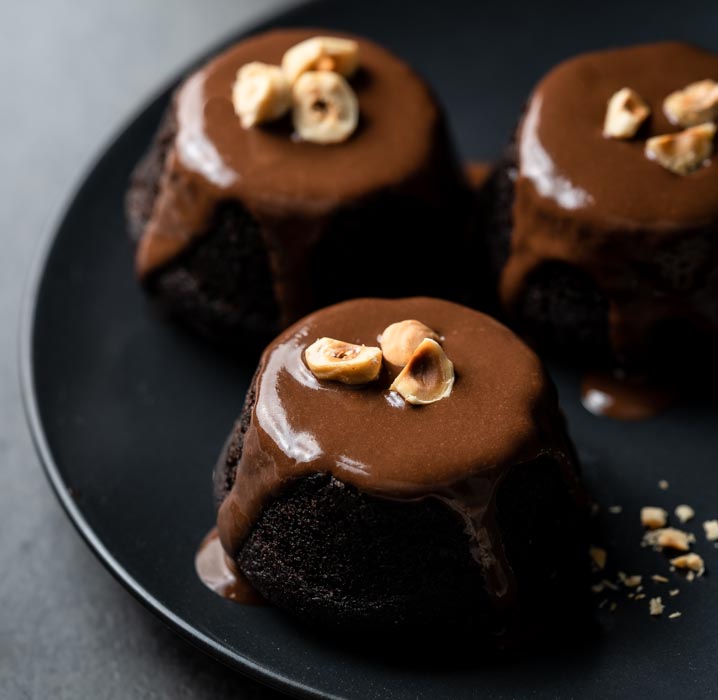
I used a stand in to prelight this shot so I could capture that perfect drip down the side.
If you’re going for a shot with an extremely narrow depth of field, consider positioning the jug so that it is on the exact same plane of focus as the most important element of the dish. This way, even if the depth-of-field is very shallow, both the jug and the dish will be nicely sharp.
Other Considerations
Lighting
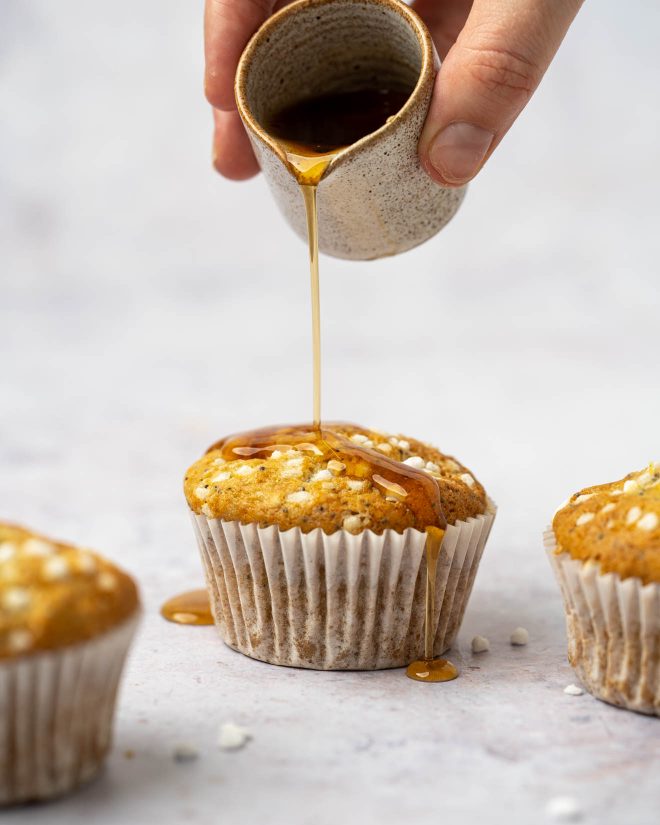
Although a pouring shot can work with any kind of lighting on the dish itself – from soft and bright to dark and contrasty – the actual pour will often look best when illuminated by specular highlights.
This is particularly the case when pouring a fairly transparent liquid, where the lack of color may make the pour less noticeable in the shot. Here specular highlights will help to draw the eye to the pouring action by making the jet of liquid appear shinier and more three-dimensional.
Background
If you’ve lit the pour with specular highlights, but you’re still having trouble getting it to stand out in the frame, the problem may well be your background. For a pouring liquid to catch the eye, it really needs to sit against a strongly contrasting backdrop.
If the pouring jug will be in the shot (and mostly you’ll want it to be, as a stream of liquid falling on a dish out of nowhere can often look a little strange) then also consider the color of this receptacle carefully in relation to the backdrop.
Four Hands Are Better than Two
Successful pouring shots can definitely be achieved working alone: set your camera on a tripod, tilt the articulating LCD so you can see what’s in the frame (or even better, tether), grab a remote shutter release, and pour away.
Having said this, just because something is feasible doesn’t necessarily make it the best way to do it. And pouring shots are always going to be more straightforward when working with an assistant, even just a friend who can lend a hand by doing the pouring while you concentrate on shooting will make things infinitely easier!
Final Thoughts
As pouring shots can really help to liven up a photographic series, they have become a standard part of the contemporary food photographer’s repertoire. By taking into account all the points above, you should have no problem producing stunning food pouring photography any time you need.
Professional pour shots don’t rely on shutter speed, they rely on flash duration.
Well they do if you’re shooting in natural light. But you’re correct, with flash, it’s all about flash duration!
Instructive and very well explained. Thank you
Thank you Lauren for summarizing all the key aspects to the perfect pour shot. I
will keep all that in mind and practice more. So helpful as always. Thank you again
You’re welcome Katka!
This is very clearly explained and helpful
Thank You
So glad you found it helpful Katherine!
Thank you always for your tips .
You’re so welcome Izzy!