


Looking to put together a small food photography studio in your home, but unsure whether you’ve got the right space for it? In this short guide I go over all the most important elements to consider when planning a home studio.
The number of photographers who have their own dedicated food photography studio outside of their home is actually relatively low. Most people just starting out in photography can’t really justify paying to run a dedicated food photography studio.
Meanwhile many of those professionals who can afford it are probably so busy working in various different cities – or even countries – that it makes little sense to rent a studio full-time if they’ll rarely ever be around to use it. For this reason you’ll find that even some top photographers work from a small home studio between big-budget productions.
Not all of us live in huge great lofts though. And for many photographers, even having a spare room to shoot in may seem like a real luxury. But if you do it right, you can produce surprisingly professional results even within a very restricted space.
I’ll be discussing home studio equipment in a future post, but today, it’s that space I want to talk about. Even if you’ve only got very limited options as to which part of your home you can shoot in, thinking about how you’ll use this space ahead of time can really help to make your home food photography studio a lot more user-friendly and efficient.
Basic Practicalities
The first major consideration when putting together a home food photography studio isn’t even a photographic one: ask yourself, is there an area of your home that’s free from disturbances caused by hungry kids, curious pets, clumsy partners, and nosey neighbours?
Photographic equipment tends not to mix too well with small friends of either the hairy or human variety. On the other hand nearly everyone seems to get on pretty well with food, so if you don’t want to see your “hero” scoffed down before you’ve even had a chance to shoot it, you’ll need a space that can be easily defended from greedy invaders.
Realistically, if you have either kids or pets, you’ll need a separate room – or at least a portion of a separate room – that can be closed off from the rest of your home. Meanwhile, for those with less housemates, the dedicated use of a table or desk in the corner of a room will likely be enough.

Of course, if there’s one defining feature that differentiates a dedicated food photography studio from a regular studio, it’s the presence of a kitchen. Sure, if you’ve got access to a studio space without a kitchen – say in an office or industrial space – you can likely make it work by doing most of the prep elsewhere and then finishing up on a small work surface and portable stove in the studio. Nonetheless, a full kitchen is always going to be the best option.
It goes without saying, though, that most homes do indeed have a kitchen. But if you’re lucky enough to have a choice of rooms to potentially use as your studio space, do not underestimate the advantage of locating it right next to the kitchen: traipsing up several flights of stairs with a tray full of chocolate mousse or pears stewed in red wine is unlikely to make you popular with whoever pays the carpet cleaning bills.
Also bear in mind that food photography tends to require a lot of props, shooting surfaces, and backdrops. And while you can definitely get away with shooting most setups on just a small desk, you’ll need some space to store all your props and backgrounds when not in use.
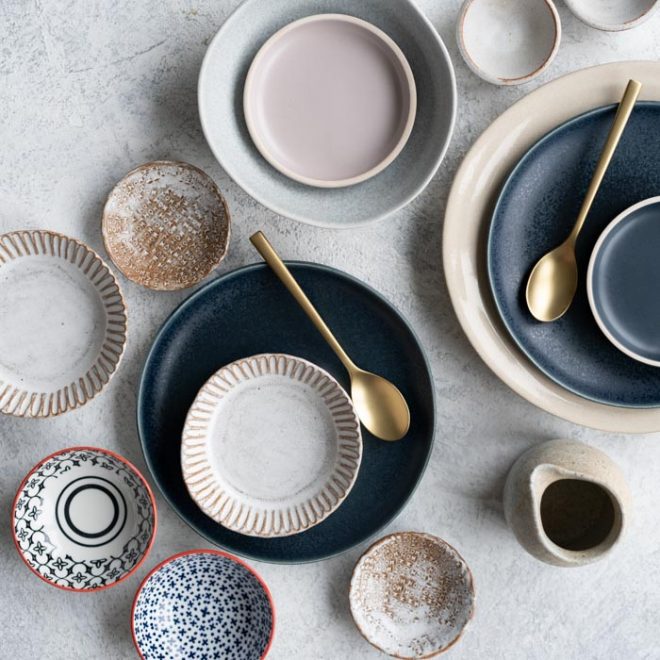
From experience I can say that if these items are not easily accessible, they will not got used. Just stuffing everything in the back of a cupboard or piling it up under the bed will not work: a well-organised storage area is an essential part of any serious food photography studio. Ideally this will be located right next to your shooting area.
Lighting
With or without a kitchen, there’s one major consideration that every photography studio in the world has in common: the need for good light. While studio flash can be great for food photography (and is my personal go-to), natural light also has it’s advantages. Ideally then, your studio space will offer the ability to work with either method, depending on the specific needs of each shoot.
Related: Nailing Artificial Light In Food Photography: Recreating The Natural Light Look
The fact is though that not every space will be ideally suited for shooting with both of these techniques. Let’s look at what’s required for each of them in turn.
Natural Light
Clearly a room that’s illuminated by nothing more than a single tiny window isn’t ideal for use as a daylight photography studio. So if this is all you have to work with, then artificial lighting is likely your only option.
With that said, there is such as thing as having too much daylight. Sure, if you’ve got access to a room with plenty of sunshine pouring in then you’ve already won half the battle (and having too much light is undoubtedly a much easier problem to solve than a total lack of it). However, in this case, the first question to ask is whether the room is illuminated with direct sunlight for all or part of the day, or instead only ever receives indirect reflected light – as you would get in a north-facing room for example.
Both scenarios offer their respective advantages and disadvantages. With north-facing windows you have great consistency of soft light throughout the day; but it invariably tends to be the same kind of light everyday. And unfortunately it’s much easier to make hard light soft than it is to make soft light hard.
Meanwhile, with the sun shining directly into the room, you have the option of shooting with both hard light and much softer illumination, by means of diffusion material. However, the disadvantage here is that, as the sun move across the sky, the light will be forever changing position, colour and angle; meaning that you can end up wasting a lot of time getting setup, only for the light to have shifted to another part of the room by the time you’re ready to shoot.

When considering a part of your home for use as a studio, take note of the angle of light at different times of day – and ideally also at different times of year – as this should probably be your primary consideration when choosing where to position a shooting area for daylight food photography.
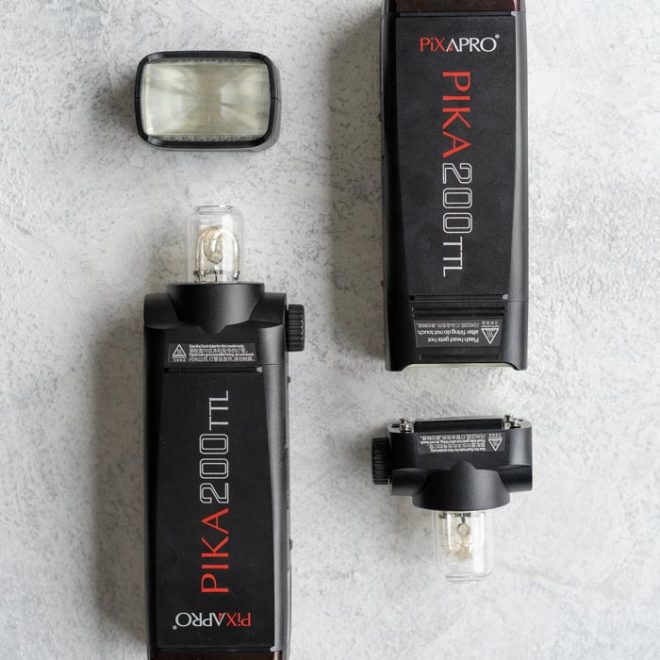
Studio Flash/Strobes
The primary advantage of using artificial lighting is that it’s always available and never prone to change; even if you’re up against a looming deadline and need to pull an all-nighter to get the job done, the light will stay constant at all hours. In fact, the only time you’re ever likely to encounter problems in using studio flash is if you’re shooting in a room that receives direct sunlight and your strobes aren’t powerful enough to permit underexposing the sun’s rays simply by selecting a faster shutter speed.
Of course, this last problem can be overcome by means of blinds or by setting up black-flags to block out the daylight. But if you think you’ll mostly be using flash, you can make your life a lot easier simply by keeping your shooting space well away from interfering beams of direct sunshine.
It’s also worth remembering that while the sun is conveniently located 92 million miles away – and so won’t actually occupy any physical space in your bedroom or whichever part of your home you’re shooting in – lighting equipment can be very bulky. Particularly stands. Although you can probably set up up most food shots on a medium-sized table, if you’re using artificial lighting you’ll likely need at least twice as much space again around the table in order to position your lights.
Related: Nailing Artificial Light In Food Photography: the Lighting Setup
One final point to consider when using studio lighting is the problem of reflected light. Sometimes it can be difficult to control a lighting setup when shooting in a small space with bare white walls, as any overspill will bounce around the room and fill in all your shadows. This may or may not be what you want.
If you can’t move your shooting table away from the walls, the only solution would be to place black drapes or polyboards around the set in order to block out and absorb unwanted light. Again, this will likely require extra space.
The Cozy Corner
Ok… maybe not an essential… but certainly a luxury for those few minutes after a shoot before you start the dreaded cleanup…

I managed to squeeze in this small IKEA sofa with a couple of cushions, with a plain white table and a plant for a bit more of a lived in feel. It also doubles as my filming spot when I’m filming YouTube videos – double win!
Final Thoughts
If you’re in the process of putting together a small studio at home, hopefully these pointers will help you to choose the best place for it. True, if you live in a relatively small apartment, you may not have a great deal of choice where to put your shooting space anyway. But hopefully some of the things I’ve discussed here will assist you in deciding whether it’s really worth your while setting up a home studio or if instead it might be better to rent out a professional studio whenever required, charging this additional expense back to the client.
Be sure to check back for part 2 in this series, where I’ll be discussing the basic equipment requirements for anyone setting up small home food photography studio.
Hi, my name is Robson and I’m loving your tips and videos. This post series is fantastic, but it has a little problem: the images are not loading. Because without them it becomes more complicated to see what you are proposing.
Yes, I’m having the same problem as Robson 🙁
Sorry about that!! There was a technical issue on our side, they should be re-linked now!
Personally, I still can’t see most of them unfortunately
This is a perfectly timed post for me. I am about to start changing my dining room into my studio space. Thanks for the tips.
So glad this was helpful Holly!
This is a really great post, Lauren! So many underestimated but very important points made. I’ve moved apartments so many times since starting my photography journey and getting the space set up is always a challenge. Keep up the amazing work 🙂 Hope to make it to one of your workshops one day!
Thanks Alex, finding that perfect space can be tricky!
As always, great tips! I use my dining table for most of my photos during the winter months. When the sun shines longer during spring/summer I get to use my wooden deck. Finding the right space is definitely key.
Absolutely, and moving around to where you need to is key too!